In cold weather climates, pipes can freeze, causing severe damage.
Assessing a home with frozen pipes is the first step in creating a plan to restore the pipes back to working condition. This step-by-step process unpacks everything necessary to adequately assess the damage and then create a plan.
1. Understand what causes pipes to leak when frozen
What causes a pipe to burst when frozen?
- When the water freezes inside the pipe, it does expand, however, that is not what causes it to break open.
What happens is the the water keeps coming, and stops at the frozen area.
- Over time, the pressure builds up to around 25,000 PSI( Normal PSI is 40-65). When this happens, the pipe weakens and eventually will break, or burst.
- When this happens, the water now has somewhere to go. Unfortunately, it just keeps pouring into the home until the water is turned off.

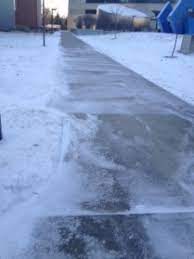
2. Watch for safety hazards
Be careful when approaching/entering a home that has frozen pipes
- Sometimes the water had poured out of the home and It can be very slippery on the driveway from ice build up
- As you enter the home, keep in mind, there may be ice formed on the floor
- Most likely the power will be out so be sure to have a strong flashlight


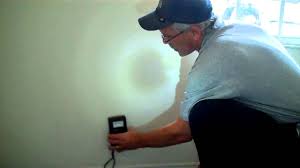
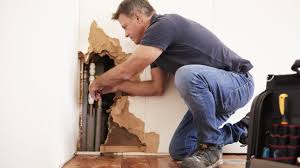
3. Locate the source of loss
Walk though the home to locate the source/sources
- Often time there are many pipes broken
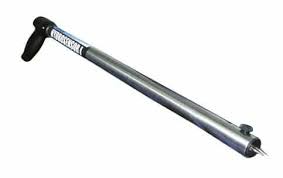
- This can be a small loss, or a very large one - determine this visually and by using moisture detection tools
4. Investigate potential causes
Things to look for on your walk through:
- Furnace - Is it on or off ? Take pictures of the furnace on initial walkthrough
- Could be a coverage issue if the furnace was turned off
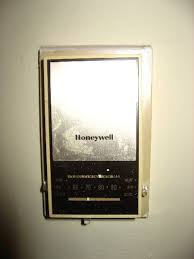
- Thermostat - What it is set at? Take pictures of the thermostat setting on initial walkthrough
- If the thermostat was set to off this could be a coverage issue
- Check the Circuit/Fuse Box - See if water poured onto it


5. Create a game plan
As you are doing a through walk of the home, take detailed notes of what needs to happen to begin mitigation, and the extent of the scope of work.
- If it is a large loss, do this room by room and be as detailed as possible.
Some items in your scope before being able to start mitigation would be:
- Getting the heat turned on, or temp heat installed(Often times an HVAC expert can install a temp furnace to heat the home up.
- Having a plumber out to test the entire home, to check for multiple leaks, and to make the needed repairs
- Getting any doors or windows secured that may be warped, or windows that may be broken


6. Contact Adjuster (if this is an insurance claim)
Before going full on with mitigation, verify coverage first
- It is important to get the approvals from the insurance company prior to proceeding.
- The last thing you want to do is start without approvals, as HVAC and Plumbing contractors get paid whether or not you have approval.
- If this is not a covered claim: Have the HVAC and plumbers bill the homeowner direct, and then provide them a detailed scope with costs before proceeding