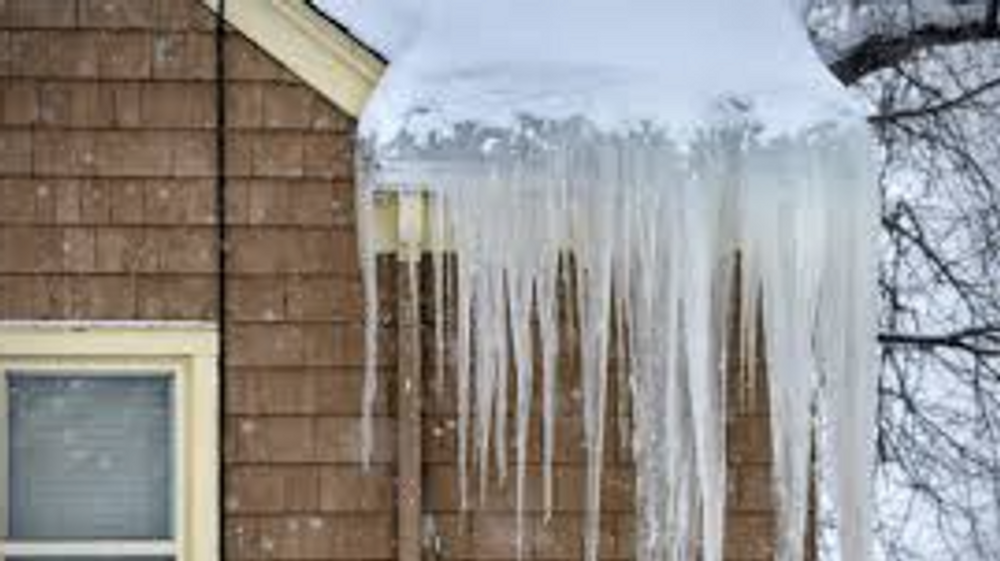
Ice Dams occasionally form when the temperatures start to rise after winter, and cause water damage to the interior of the home. Here's how to identify them and the step-by-step process to remove them.
1. Identify a Roof Ice Dam
Ice dams may form when water from melting snow freezes into ice at the edge of your roofline
- Without proper roof snow removal the ice that develops may grow large enough to prevent water from melting snow from properly draining off the roof.
- This is very important
- When the water is unable to drain from the roof, it may then back up underneath roof shingles and make its way into your home.

2. Look for interior damage
When an Ice Dam occurs, as the ice melts, the water often times makes its way up under the shingles and into the home
- When you see damage shown in the photos below, it is a good indication that the Ice Dam is causing water to enter the home


3. Gather items needed to remove Ice Dams
These items will help remove Ice Dams:
- Roof Rake
- Calcium Chloride Ice Melt (Don't use Rock Salt or sodium chloride as that can damage the roof)
- Nylon Stocking


4. Proceed to remove Ice Dams
Steps to remove Ice Dams:
- Use the roof rake to remove 3-4 feet of snow from the edge of your roof

2. Fill Nylon stockings with Calcium Chloride Ice Melt
3. Place them vertically(up and Down) along the affected area(This will cause a channel for the melting ice to go

5. Start drying when Ice Dam stops leaking
Once the Ice Dam is cleared and the water stops coming in the home- then you can proceed with mitigation as normal.
- One thing that you need to do is open up the area of drywall affected on the roof or walls to see if there is wet insulation behind.
- Once demo is complete, proceed with drying


