

This process outlines the best practices for detaching a toilet.
1. Shut off water to the toilet
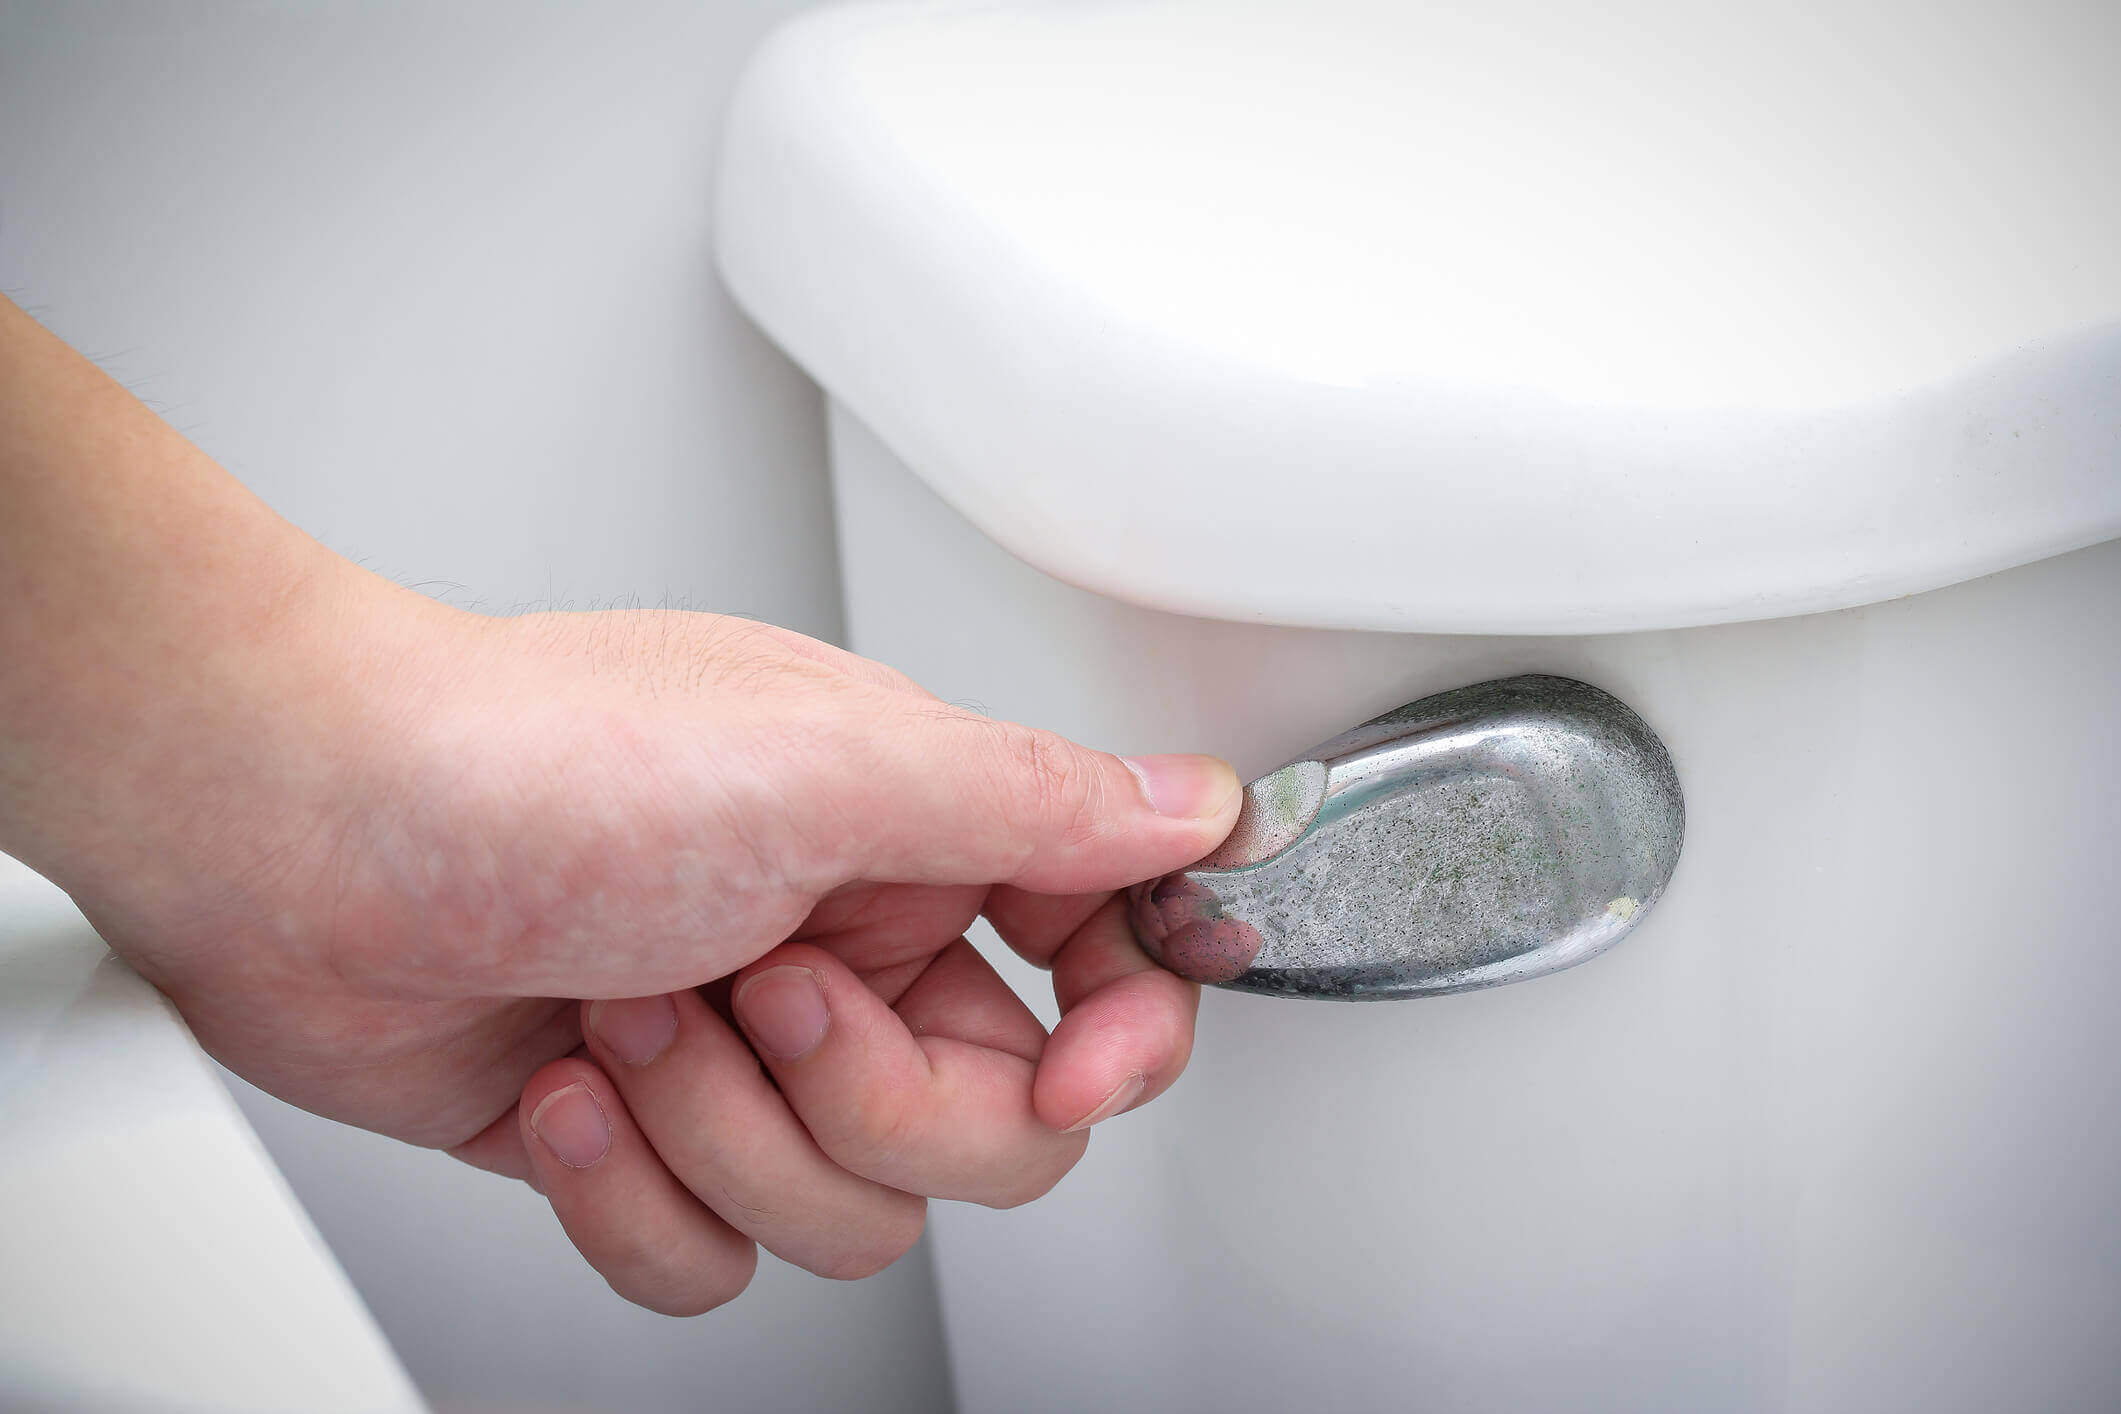
Turn the Shut off Valve for the water supply line counter clockwise
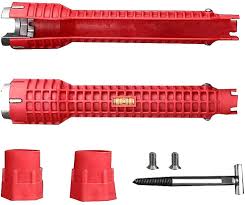
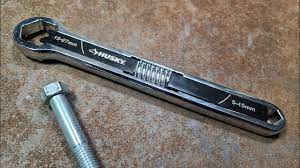
- There is a Plumbing wrench tool available that makes this easier if it is tough to turn (see image)
There are times when the Valve won't budge - In this case:
- Try placing a hot towel over the valve to heat it up to loosen it
- Try spraying some WD-40 on it to loosen it
If that doesn't work, you may have to have a Licensed Plumber called out to change to valve
2. Empty the tank
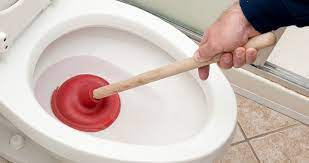
Flush and keep the handle down while doing do to remove as much water from the tank as possible
- Use a Plunger to remove any remaining water
3. Detach supply line
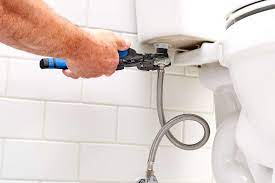
Remove Supply line from the toilet
- Place a bucket or small pan to catch any water in the line as it is removed
- Use a pair of channel locks
- Loosen the supply line from the fill valve and remove
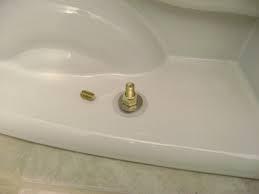
4. Remove nuts holding toilet down
- Remove decorative cap to expose the nut on both sides of the toilet
- Use adjustable socket wrench to remove the nuts
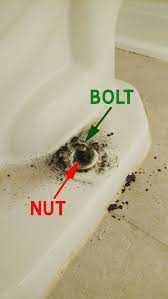
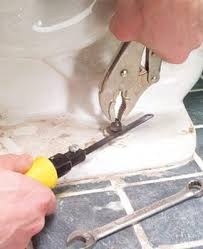
5. What to do if the nuts won't come off
What to do if the nuts won't come off
- Spray nut with WD-40(Let sit for a few minutes)
- Affix the Socket wrench to the nut
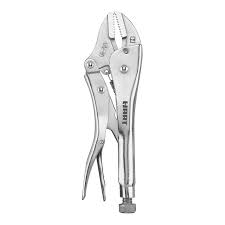
- Grab onto the top of the Bolt with a pair of Locking Pliers
- Attempt to turn the nut loose
- If that doesn't work, the nut will have to be cut off using a Hacksaw
- use just the blade(hold with Leather Gloves)
- place under the nut on top of the washer
- Have patience as it takes a little while to get all the way through
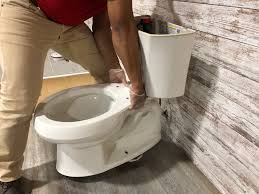
6. Remove Toilet
Removing the toilet
- Once the bolts are off, simply lift the toilet straight up
- Be sure to keep it level as there is probably still water in the trap
- Make sure the floor is protected (cardboard and/or plastic) where you set it down
7. Store toilet
- Ask the homeowner if there is room in the garage to store it
- It can be placed in the tub or shower HOWEVER, be VERY careful to protect the tub or shower so they are not damaged
- Take before and after photos of tub/shower in case there are existing damages