

Drying a home with frozen pipes is a complex job that requires understanding of why pipes are frozen as well as a proven method to drying it without causing further harm. This step-by-step guide was created by industry veterans and is available for you to use or share with your team.
1. Approach the Home Cautiously
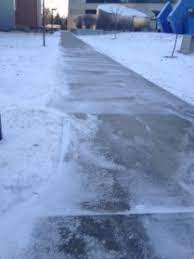
Be careful when approaching/entering a home that has frozen pipes
- Sometimes the water had poured out of the home and It can be very slippery on the driveway from ice build up
- As you enter the home, keep in mind, there may be Ice formed on the floor
- Most likely the power will be out so be sure to have a strong flashlight


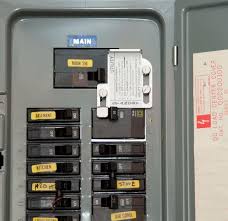
2. Establish temporary power if needed
If the Job warrants, temporary power and lighting will need to be established in the home:
- This needs to be done by a licensed electrician.
- Temp outlets and temp lighting will need to be installed
- A temp circuit will need to be established to either run the original furnace(if not damaged), or to run the temporary furnace

3. Document the State of the Home
Thoroughly photo documenting the pipe freeze insurance mitigation from start to finish ensures accurate and comprehensive documentation in your company's software of choice.
This step involves capturing detailed photographs of the entire process, from identifying the frozen pipes to implementing the necessary measures for insurance mitigation.
It is important to ensure that all relevant information is captured in the photographs, including the location of the frozen pipes, the steps taken to mitigate the issue, and any additional documentation required for insurance purposes.
This includes photos of any subcontractor work done by Electricians, Plumbers, and HVAC companies
These photographs should be uploaded into the company software, ensuring that they are organized and easily accessible for future reference.
4. Heat up the home
If the home is not receiving heat, it will first be necessary to begin to heat up the home before you can fix the frozen pipes and dry the home.
- Have a licensed HVAC Company inspect the existing furnace-
- If it is not able to be turned on, Have them install a temporary/portable furnace to heat the home


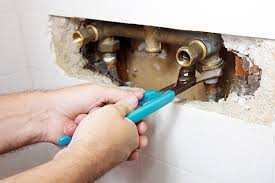
5. Test and Repair Plumbing
Once the power and Heat are established the plumbing needs to be addressed
- Must use a licensed Plumber to determine where all the breaks are(if multiple).
- This can be a process as they have to fix the pipes that are obvious, and pressurize the water to test.
- Sometimes there are others that were not visible
6. Perform mitigation work based on the severity of the damage
Once power has been restored, the home has been heated, and any plumbing has been repaired, you can begin to perform mitigation work.
See the attached links for step-by-step guides on how to respond to Category 1, Category 2, or Category 3 mitigation work.
7. Provide homeowners with steps to prevent freezing in the future
The best way to avoid frozen pipes is proactive steps taken by the homeowner before it gets cold. Share the following link with them to help them prevent future freezes