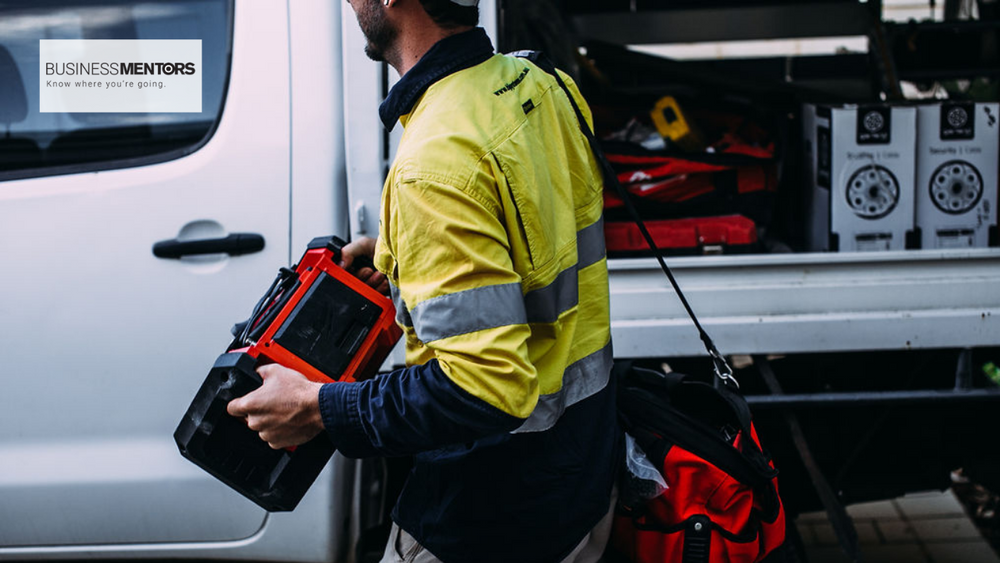
This process will make sure you have all of the necessary tools and equipment to respond and perform the mitigation job safely and efficiently.
1. Review loss information provided by the office
Review the loss information before responding and confirm that all of the information required has been filled out.
- Loss site address - confirmed in GPS
- Loss information - source, age of house, affected areas, other
- Special equipment required - ladders, PPE, other
2. Confirm that all tools, equipment and materials are stocked on the response vehicle
Typical equipment and supplies that should be stocked on the mitigation response vehicle.
Note: this is a generic list and should be updated and posted in the shop.
Administration and Safety Equipment:
- First aid kit
- Fire extinguisher
- Roadside emergency kit
- Jumper cables
- Safety Data Sheets (SDS) book
- Haz-Com binder
- Job folders
- Extra forms
- GPS
- Hazard signs
- Wet floor sign
- Calculator
- Digital camera
- iPad or other technology
- Gas card
- Permanent marker
- Zip lock bags for samples
- Clip boards
- On Call list
Extraction Wands and Hoses:
- Sewer wand
- Clean water wand
- High pressure hose
- Extraction hoses
- Water supply hose
Production Equipment
- Water key
- 2 rolls 6 mil trash bags
- Carpet grooming rake
- Foam blocks
- Clear furniture tabs
- 4 Extension cords
- 10 Electrical adaptors
- 220 Electric panel (220 dryer)
- Empty 5 gallon bucket
- 1 Roll 6 mil fire retardant poly sheeting for containment or roof covering
- 1 Bundle furring strips for roof covering or other
- 3 – 1.5 boxes
- Moving blankets
- 1 Roll lay-flat – 18”
- 1 Roll lay-flat – 9”
- 1 Roll carpet mask
- 1 Roll floor mask
- 2” Blue tape
- 3” Yellow tape
- 6” White vinyl tape
- Floor scraper with blades
- 6’ Ladder
- Portable lighting
- 4 Moving disks
- Air sled
Restoration and cleaning solutions
- 10 Clean white towels
- 3 Gallons antimicrobial
- 2 Cans spray adhesive
- 2 Empty trigger sprayer
Testing Equipment
- Carpet sensor
- Thermal hygrometer
- Manometers
- Non-penetrating moisture meter
- Penetrating w/ slide hammer
Equipment
- 1000 CFM Air scrubber and collars
- Spare 16x16x2 filter pleated & carbon
- Wall drying set up
- 6 – LGR DH’s
- 3 50-Gallon water collection barrel
- 8 Air movers
- 1 HEPA Vac w/ attachments
- Portable extraction unit
- Portable extraction hose
- Portable high pressure hose
Tools
- Skill saw
- Reciprocating saw
- Oscillating multitool
- Cordless drill
- Tool box with hand tools: hammer, knives, screw drivers, pry bars, drywall knife, hand saw, etc.
- Demolition tools
- Clean up tools: broom, dust pan, flat shovel, round point shovel, rake
3. Confirm that all necessary PPE is stocked on the response vehicle
Typical PPE items that may be required on a mitigation project:
- Half or full face respirator
- Organic cartridges
- Hand sanitizer
- Liquid-repellent coveralls
- Waterproof coveralls
- Waterproof rubber gloves
- Rubber boots
- Safety glasses, goggles or face shield
- Booties
4. Complete the daily vehicle safety maintenance checklist before departing
Before departing inspect the vehicle for the following:
- Check engine oil levels
- Check coolant levels
- Check fuel gage - fill if less than half tank
- Check head lights
- Check backup lights
- Check parking lights
- Check brake lights
- Check directional lights
- Check tail lights
- Check side lights
- Check tires including spare
- Check mirrors
- Check windshield wipers


