

Follow this process in order to paint a wall properly, starting with preparing the wall.
1. Clear the room or move furniture away from the wall to be painted
Cover furniture that remains in the room with plastic to ensure it doesn't get splattered with paint. Spread a canvas drop-cloth over the floor.
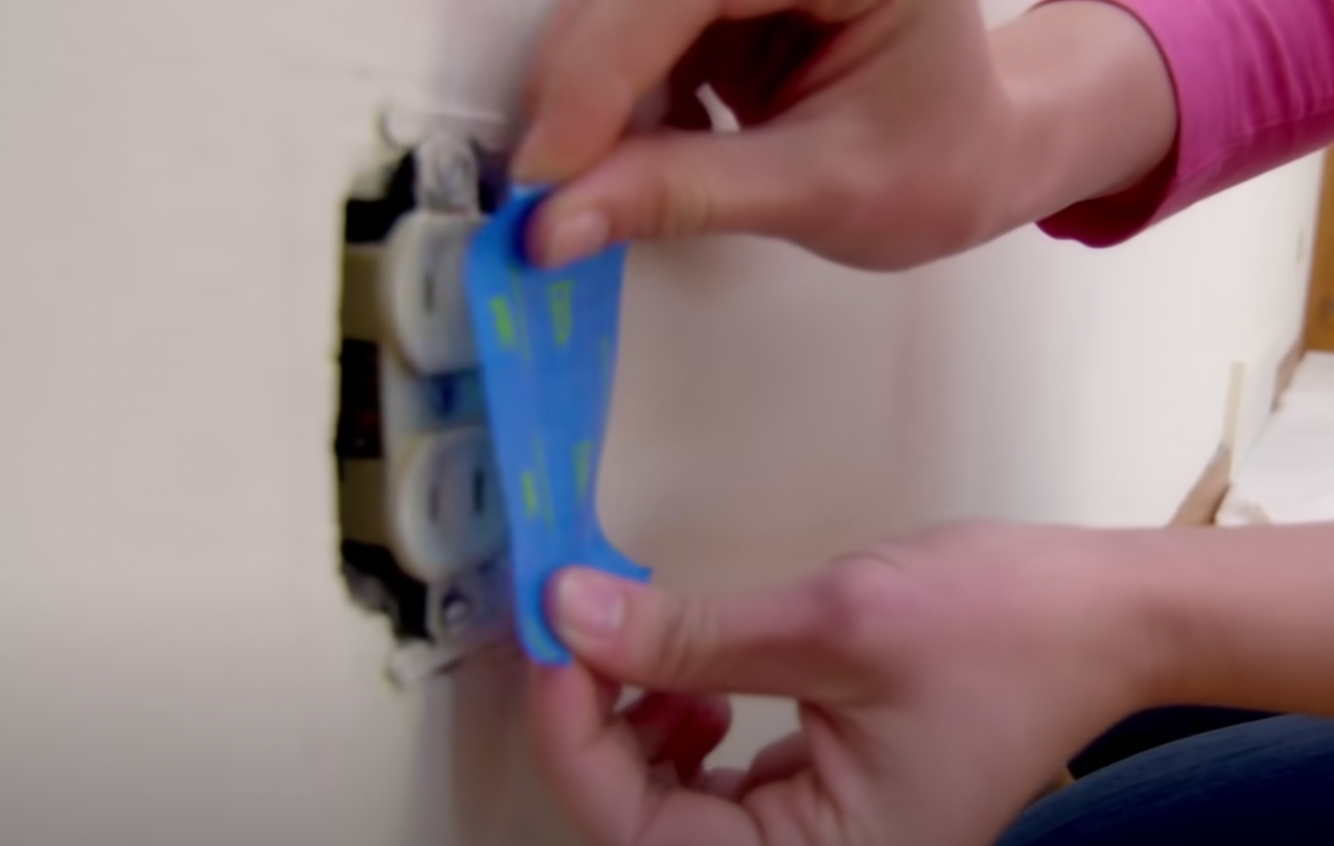
2. Shut off circuit breaker to any outlets or switches in the wall you're painting
Remove faceplates from outlets and switches, then cover remaining area with painters' tape.
3. Strip old wallpaper with a paper remover and removal tools
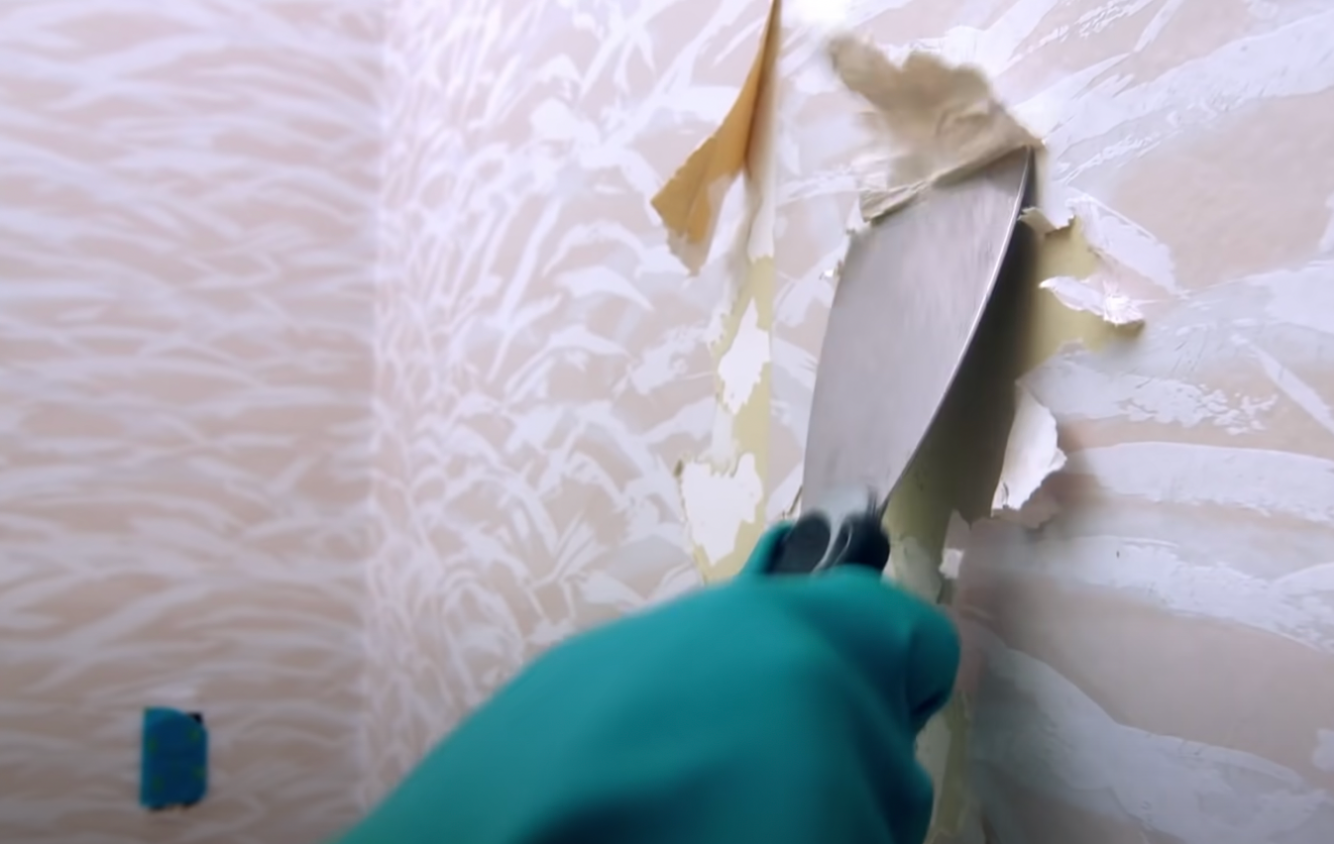
Use a putty knife to scrape off old, flaking paint; no need to put too much effort into it, just remove the loose stuff.
4. Fill holes and damage with spackle
Brush out the hole with a paintbrush first then fill with spackle. Let dry, sand smooth, and prime.
5. Clean the wall
Vacuum dust, then do a quick wipe-down with a damp cloth.
If the walls are oily or very dirty, wash with tri-sodium phosphate (TSP) for a more thorough clean. Rinse with water and let dry.
6. Prime the wall if needed
Using a primer is necessary if painting over:
- bare drywall
- stained or repaired areas
- high-gloss finishes
- drastic color changes
There are many paint-and-primer combinations available that can save time on this step.
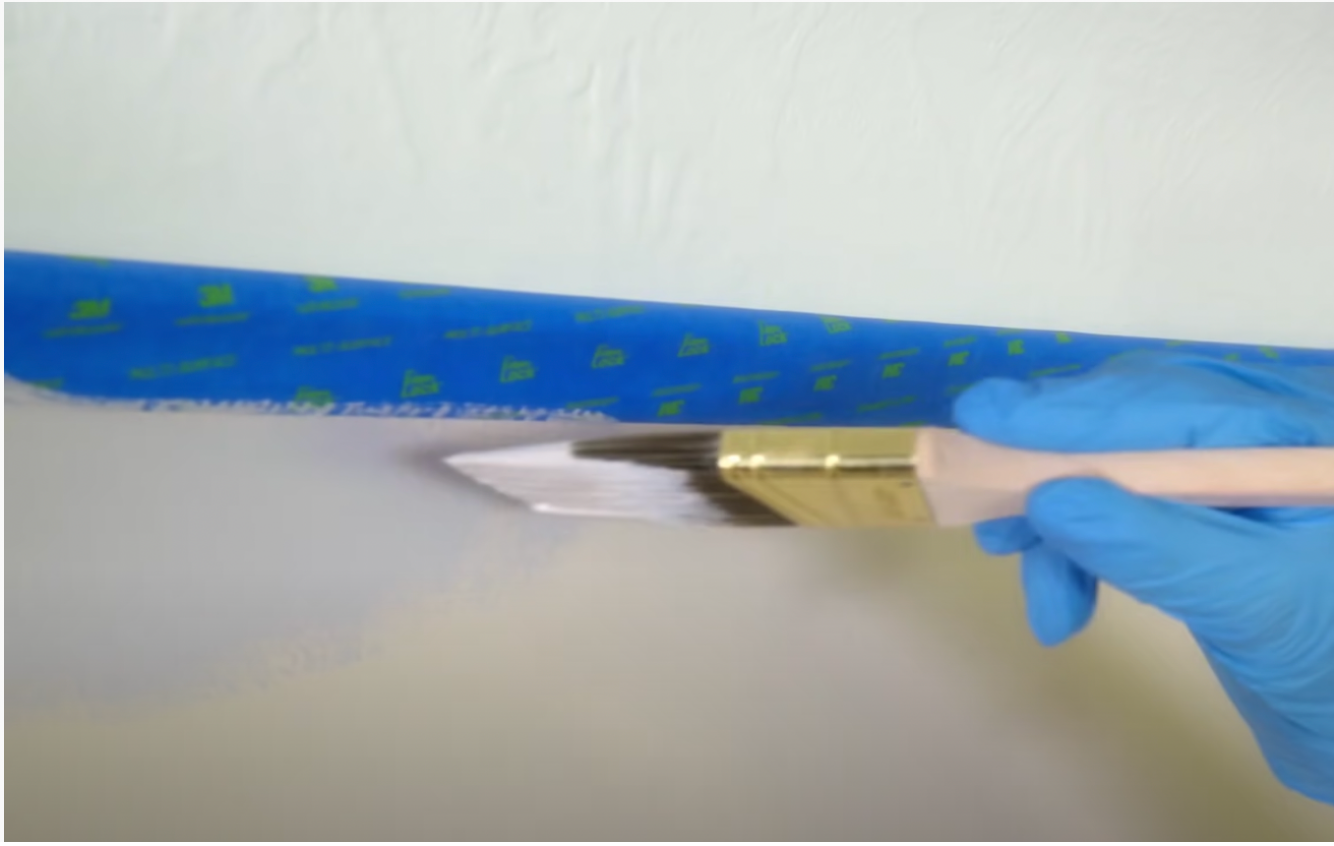
Once you've finished priming, allow to dry, then mask off the edges with painters' tape.
7. Ensure you have enough paint
The general rule is that you will need one gallon of paint to cover 400 sq. ft.
If using more than one gallon of paint, mix them in a five-gallon bucket to ensure color consistency. This is called boxing.
8. Ensure adequate ventilation
Open windows if possible.
9. Paint the wall
If painting the entire room, know that you will need to work from the top down - ceiling first, then walls, then trim.
1. Paint the edges of the wall (called "cutting in") using a paintbrush. Dip the brush about 1/3 of the way into the paint, then tap it against the sides of the bucket to remove excess paint (don't scrape the paintbrush). Hold the brush like a pencil and paint with smooth strokes, feathering out the edges to prevent runs.
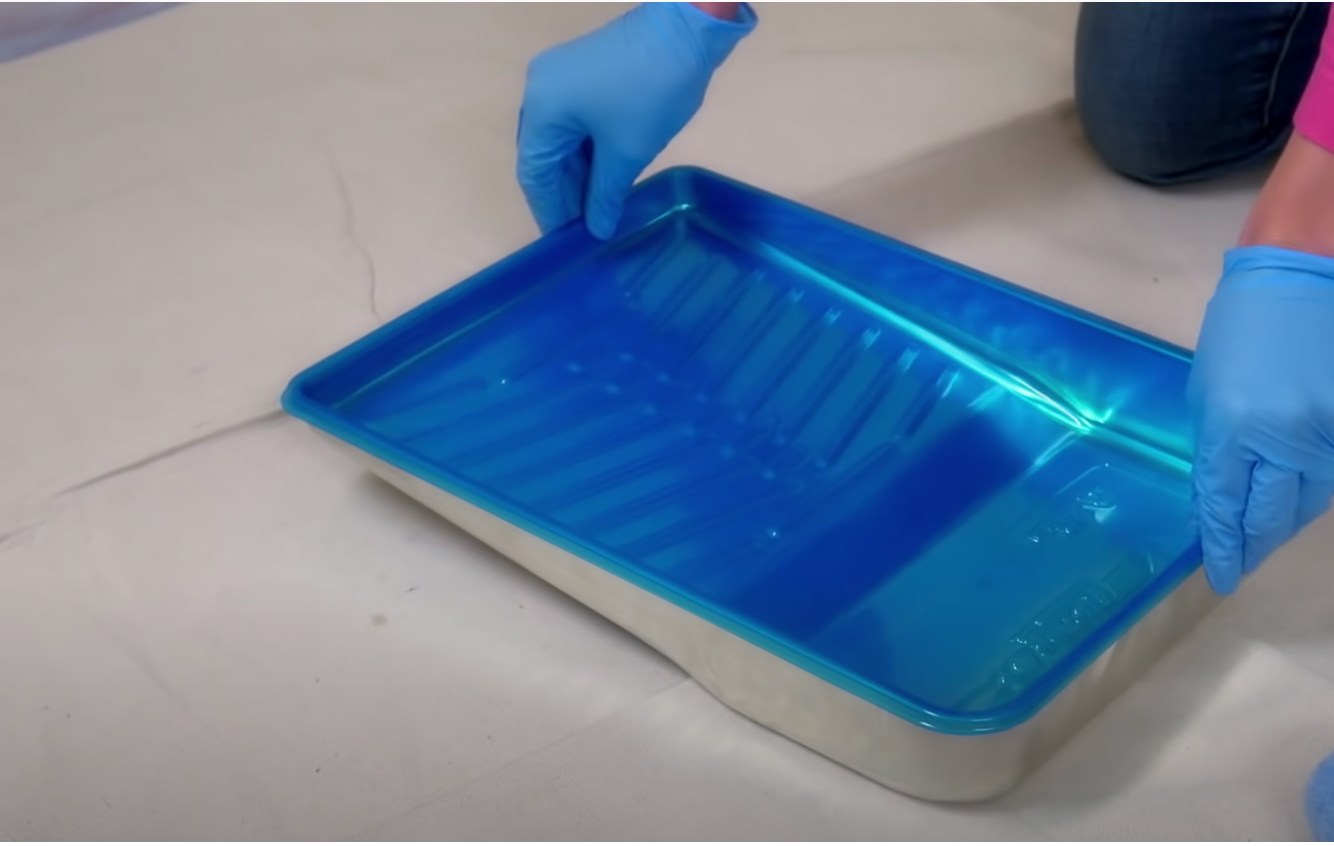
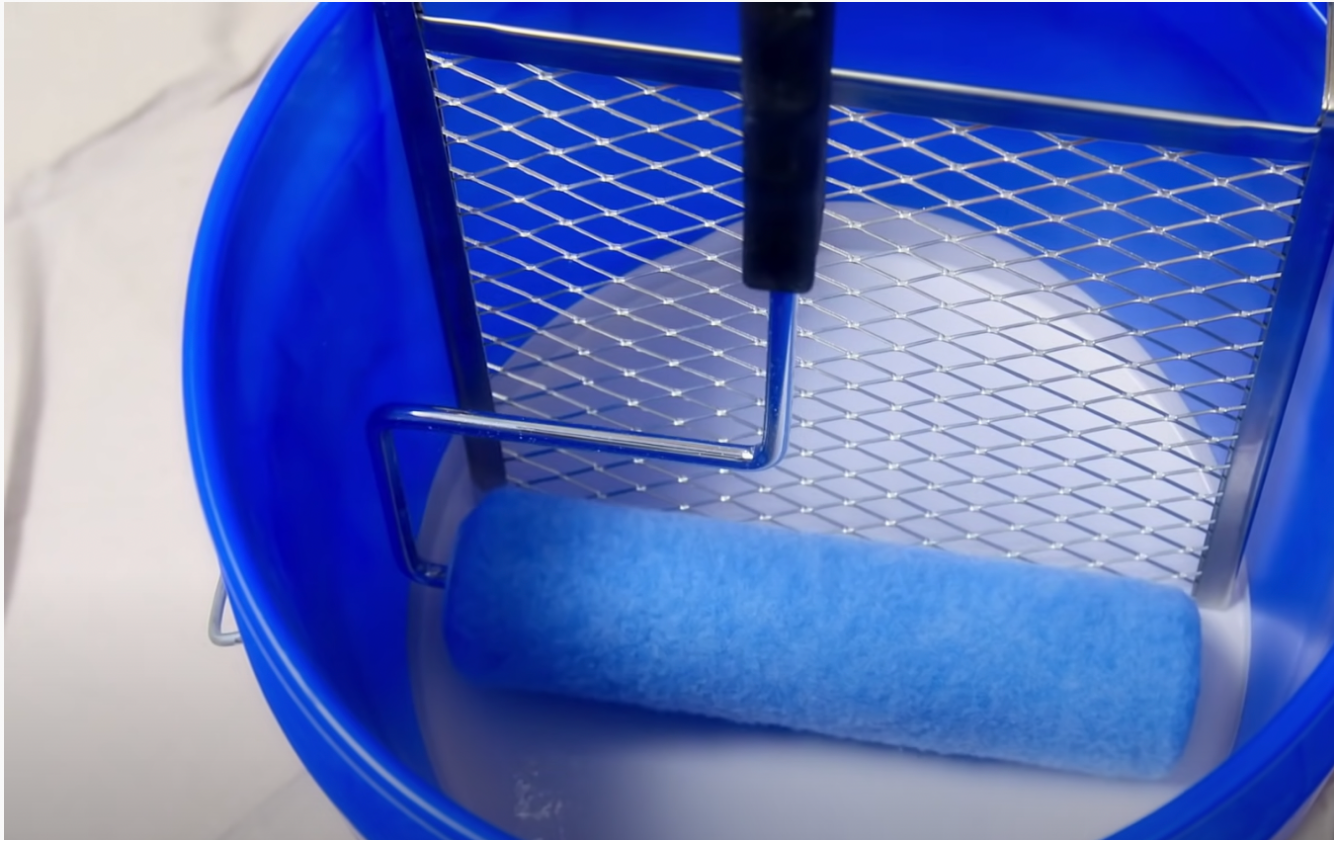
2. Prepare to use a roller. You'll need a roller grid if you're using a bucket, or a roller tray with a liner. Dampen the roller cover with a wet rag.
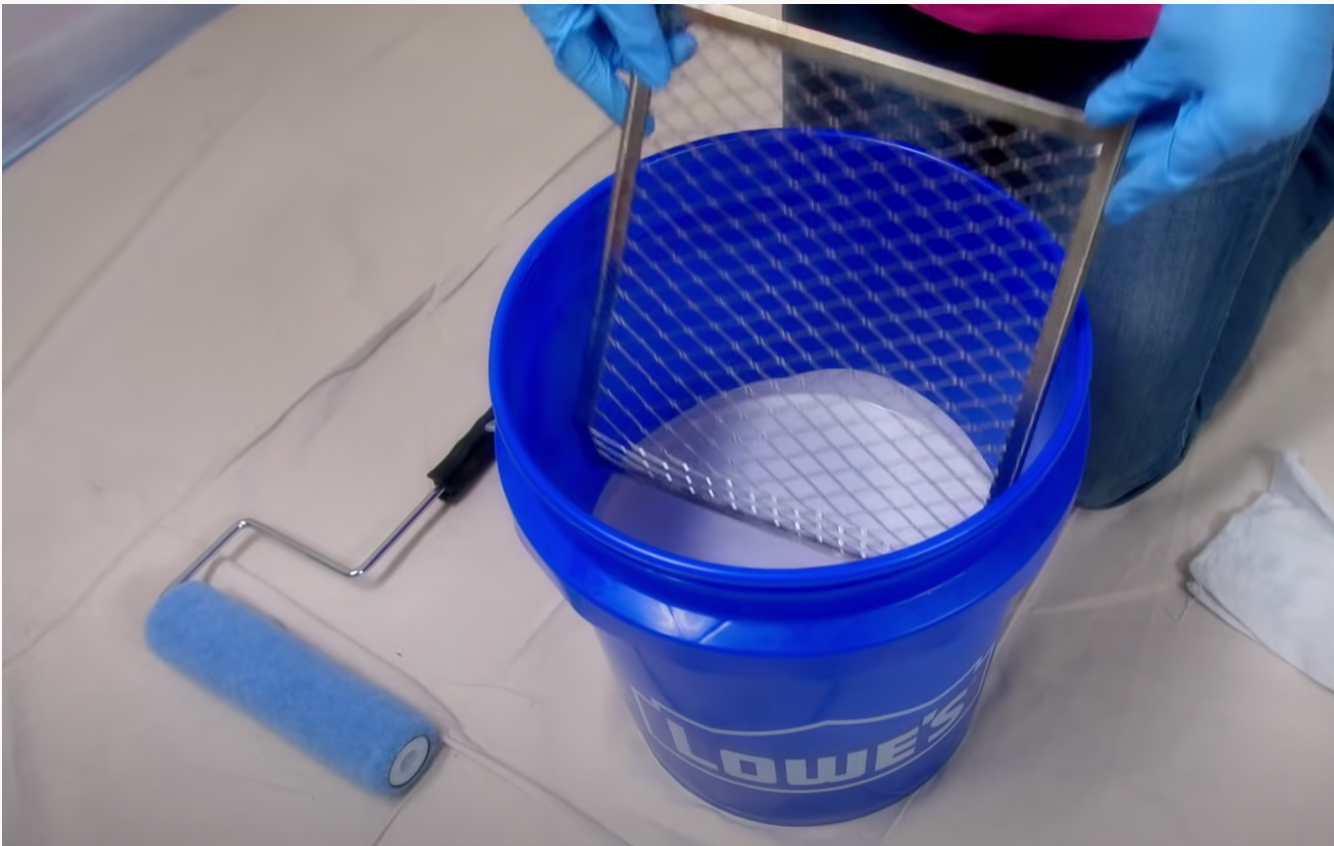
3. Dip the roller a little way into the paint and roll a few times (over the grid or tray) to even it out. Submerging the roller will make a mess.
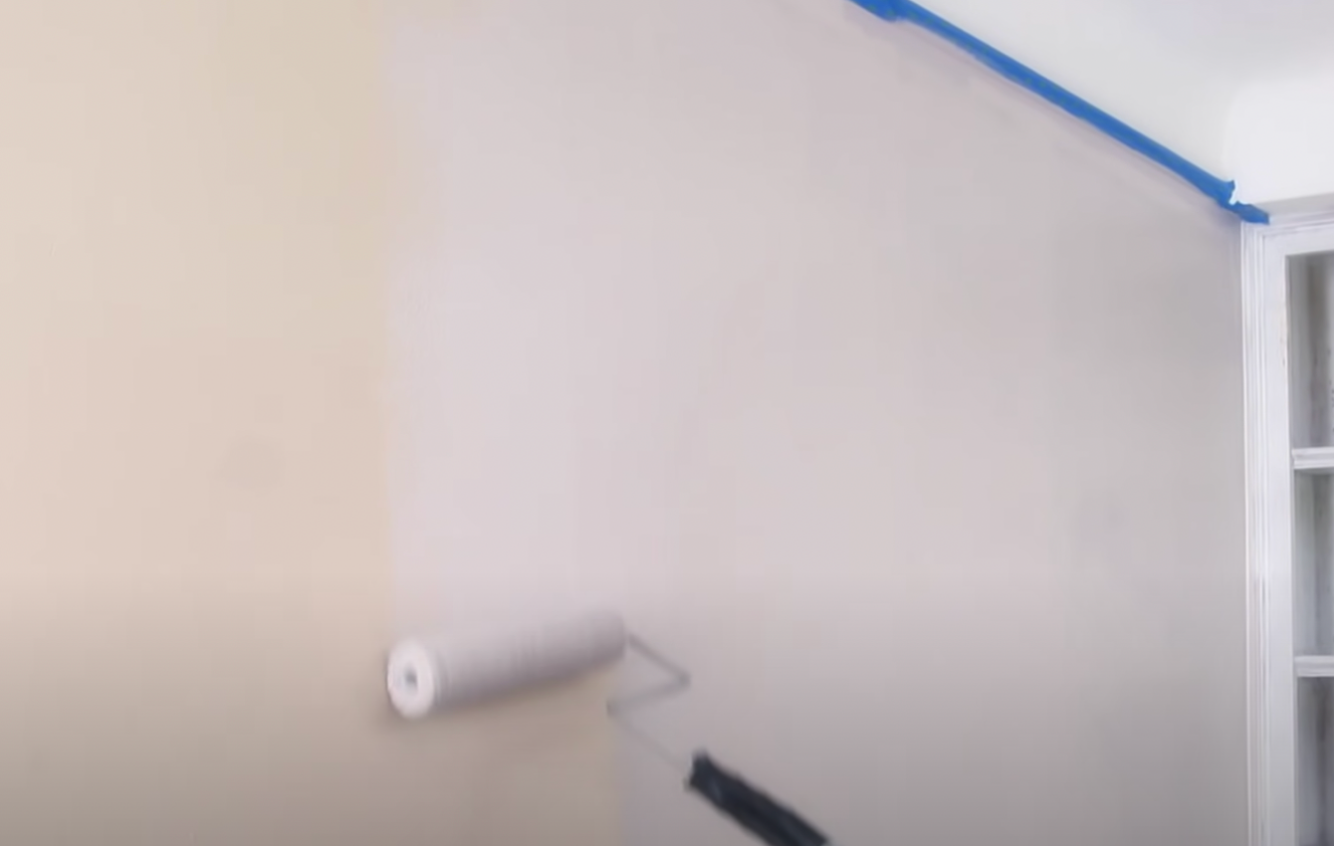
4. Starting at the edge, roll paint onto the wall in a zig-zag pattern. Rolling the paint in multiple directions helps to ensure good coverage. Go slow to avoid paint splatter. Reload your roller rather than pressing and squeezing to get more paint out. Work in four-foot sections from the top to the bottom. Turn the roller sideways to get close to the ceiling and baseboards. Lightly roll down over previously painted areas to remove build-up and runs (called "laying off").
5. Finish a coat on one wall before starting another wall. The entire room will need two coats.
6. If you need to take a break, cover your bucket, and wrap the roller in plastic wrap. Place them in the fridge if you're using them the next day.
7. Proceed with painting trim only once the walls are completely dry, so that you can use painters' tape without ruining your beautiful paint job.