

Follow this process in order to remove and replace an old or broken toilet.
1. Gather necessary materials
You will need:
- a replacement wax ring
- rubber gloves
- a new supply line
- a hacksaw
- a putty knife
- two adjustable wrenches
- a plunger
- some old rags
- a sponge
- a bucket
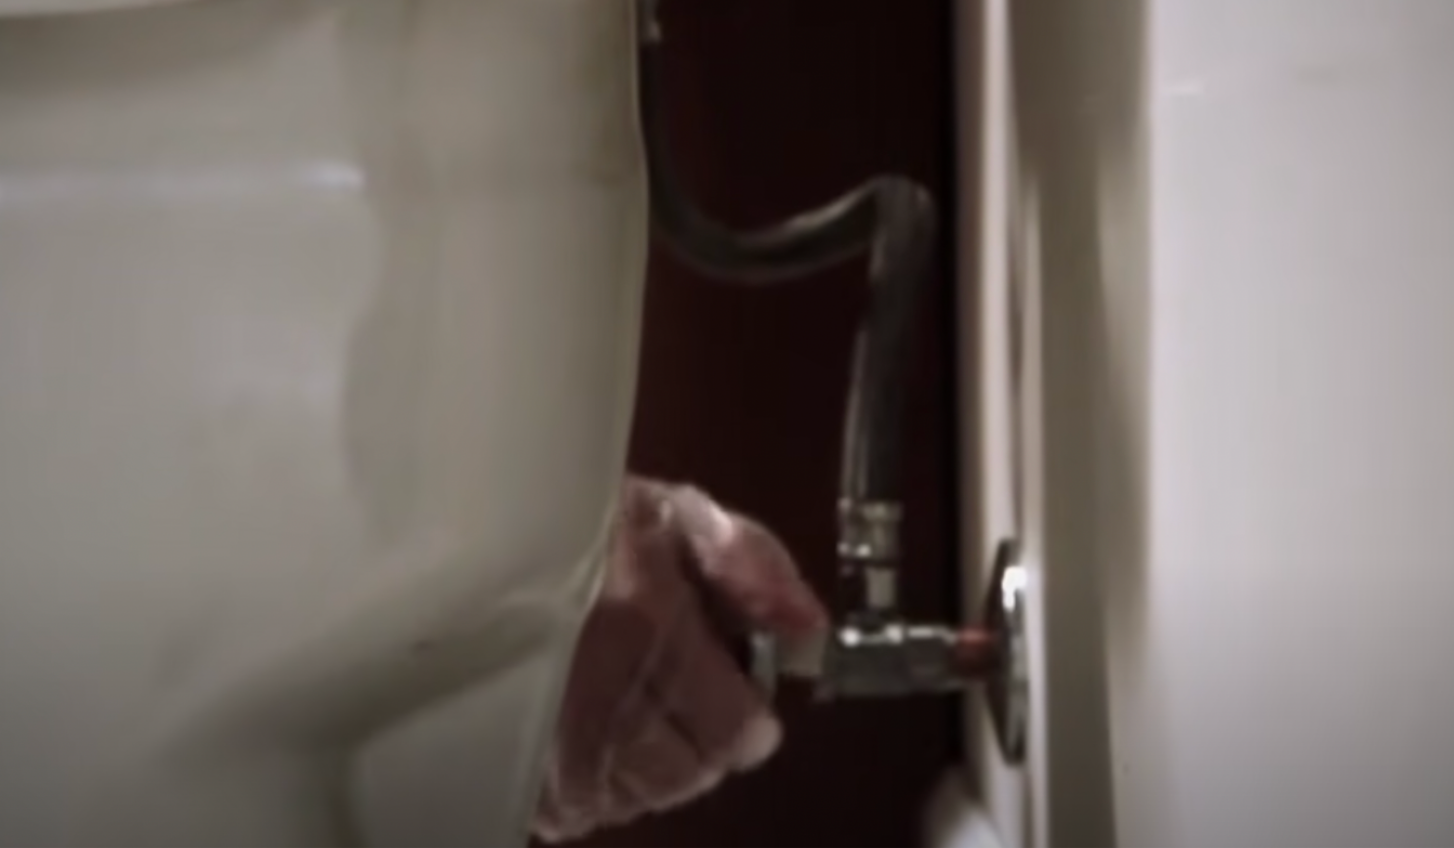
2. Turn off the water at the shut-off valve
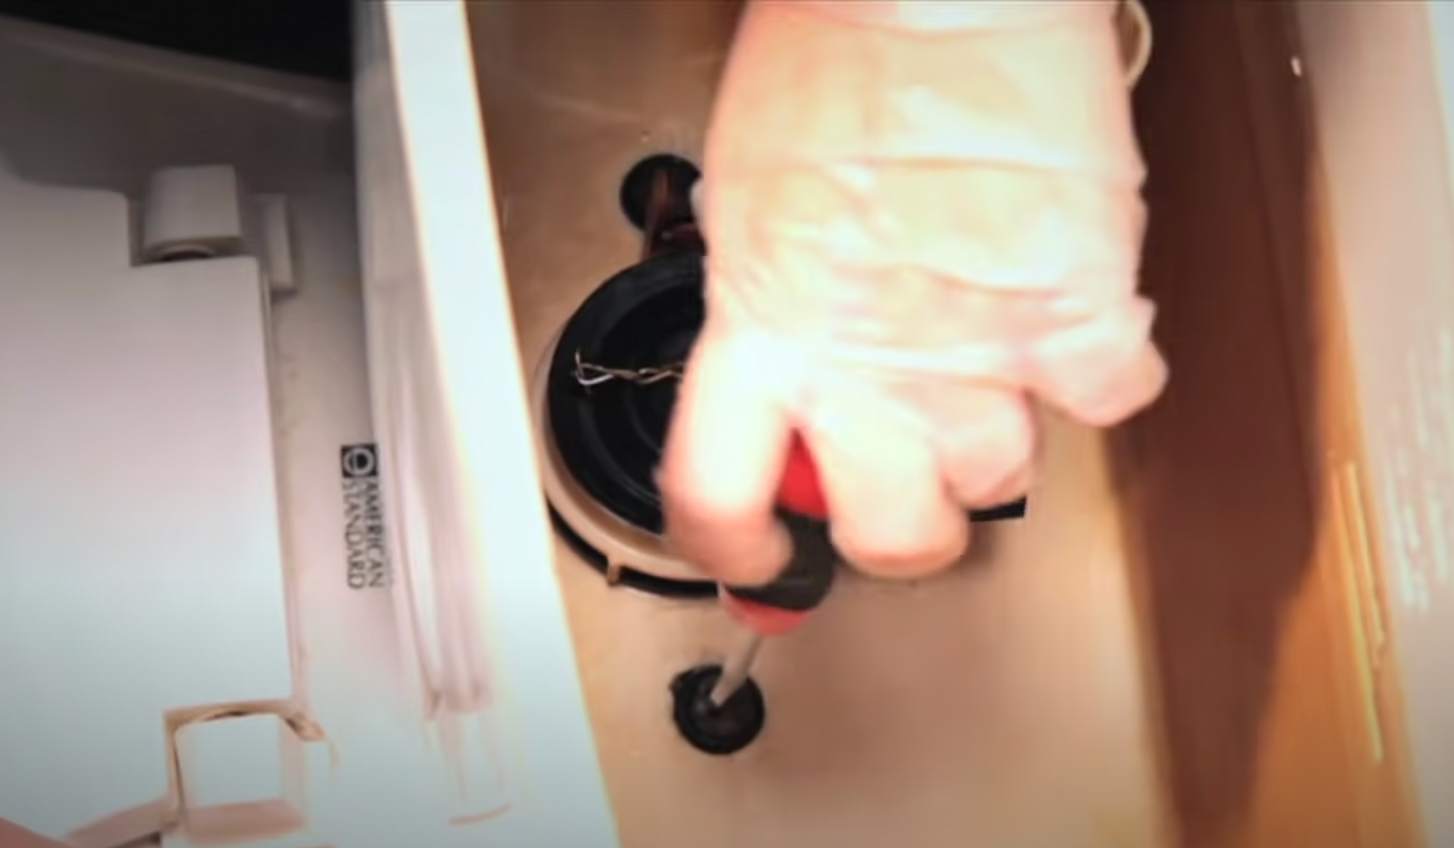
3. Flush the toilet to drain the water from the tank and toilet bowl
Use a plunger to force any remaining water down the drain line. Remove any remaining water from the tank and bowl with a sponge and bucket.
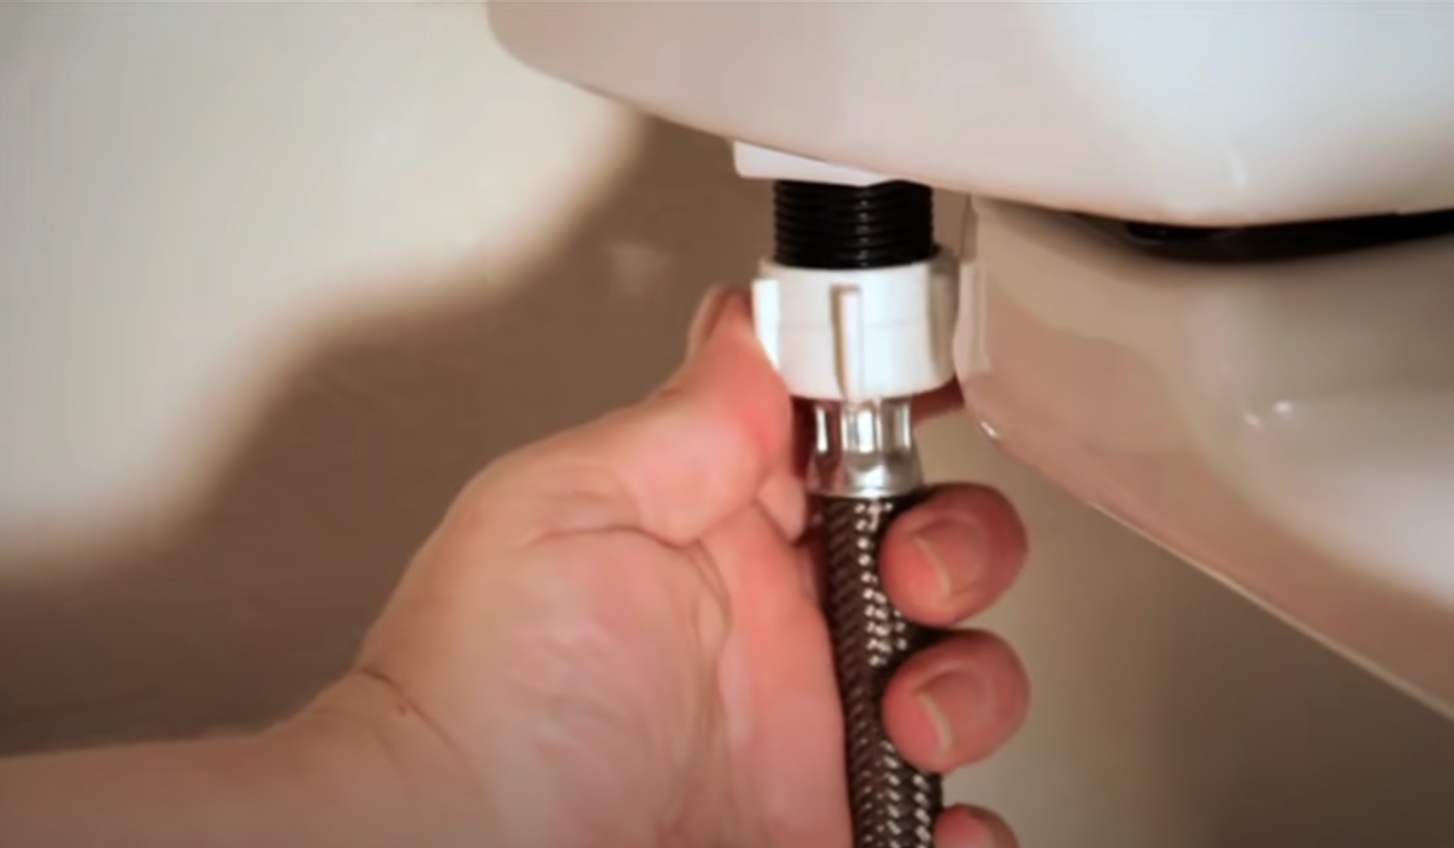
4. Disconnect the supply line
Begin with an adjustable wrench and finish the job off with your fingers.

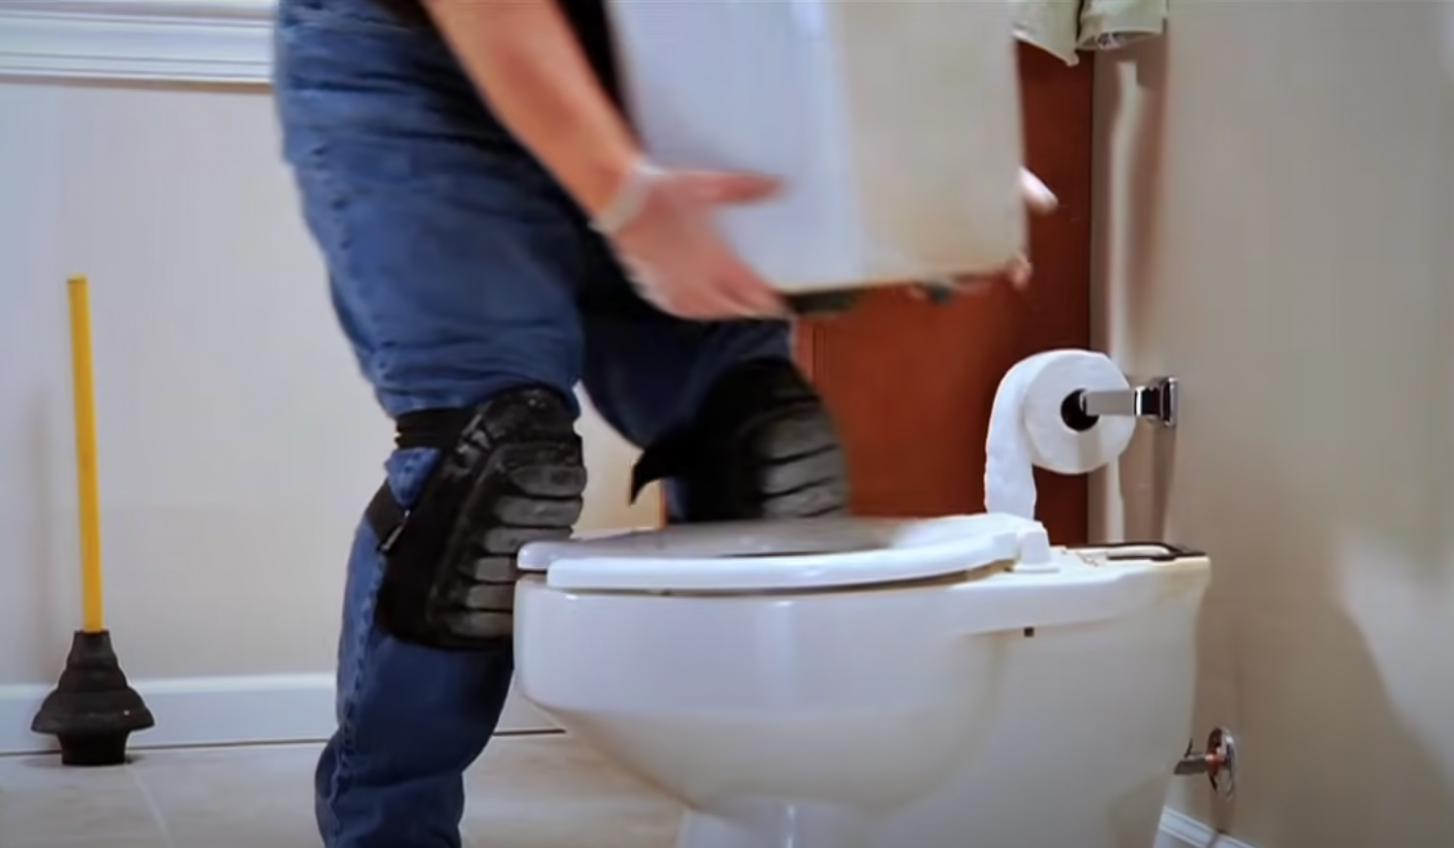
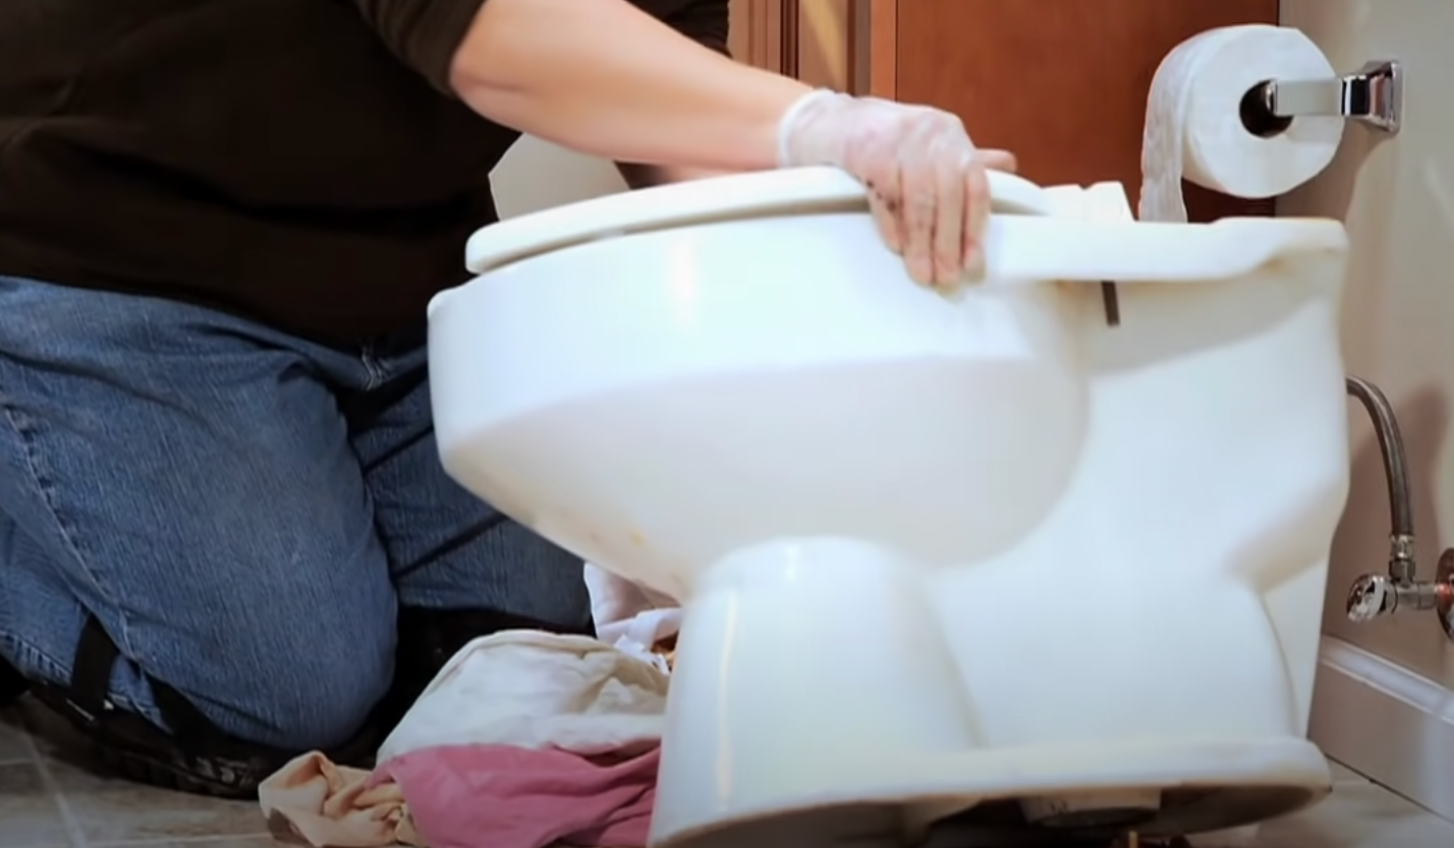
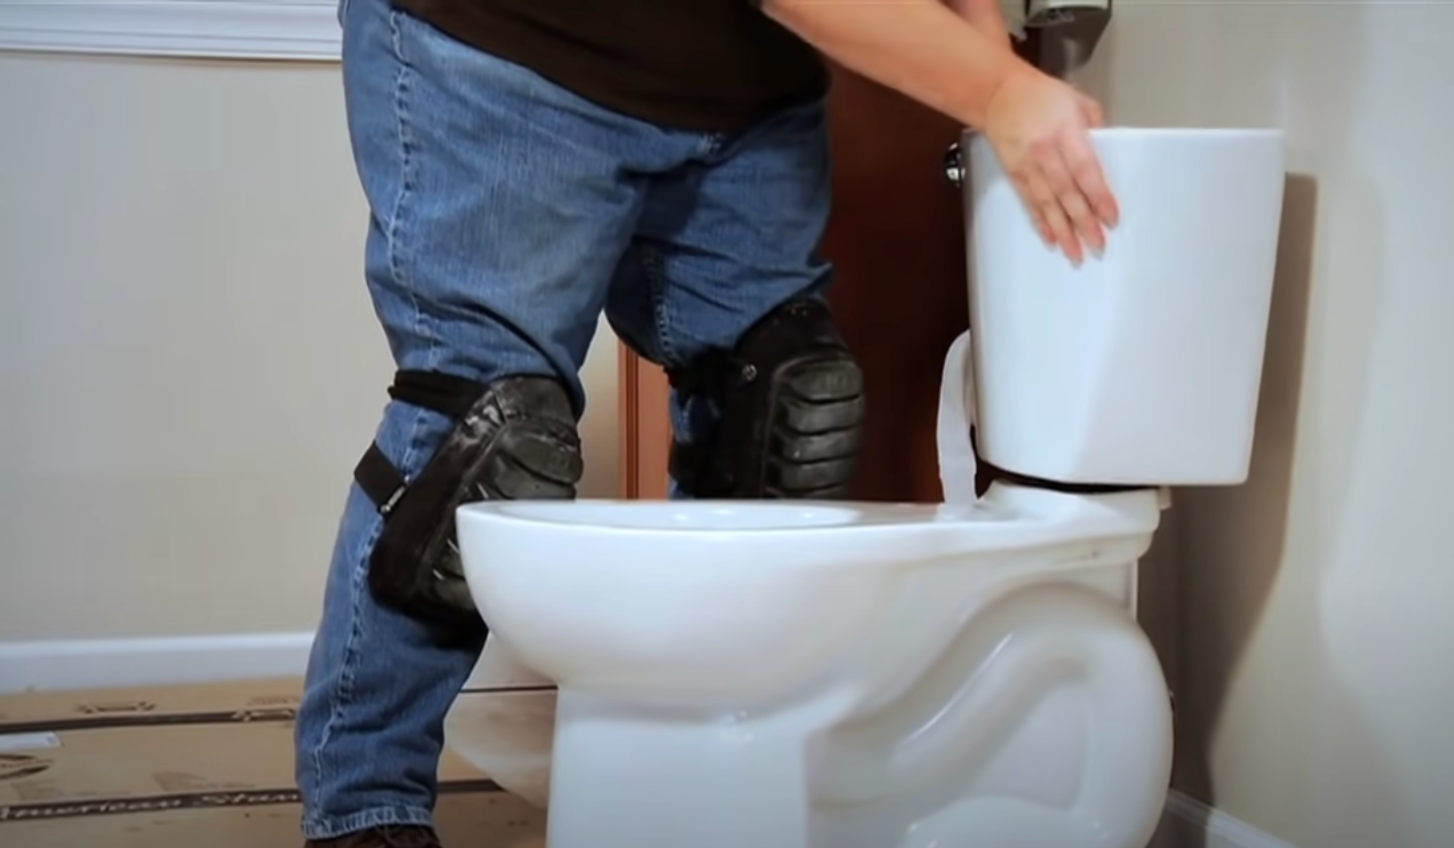
5. Unbolt and remove the old toilet
It may be easier to separate the tank from the bowl first, especially if you are working alone. To remove the tank from the bowl, unscrew the bolts from the bottom of the tank with an adjustable wrench.
To unbolt the toilet, remove the plastic caps, and unscrew the bolts with an adjustable wrench.
If the bolts are rusted, you may need to remove them with a hacksaw. Rock the toilet back and forth until you can lift it free.
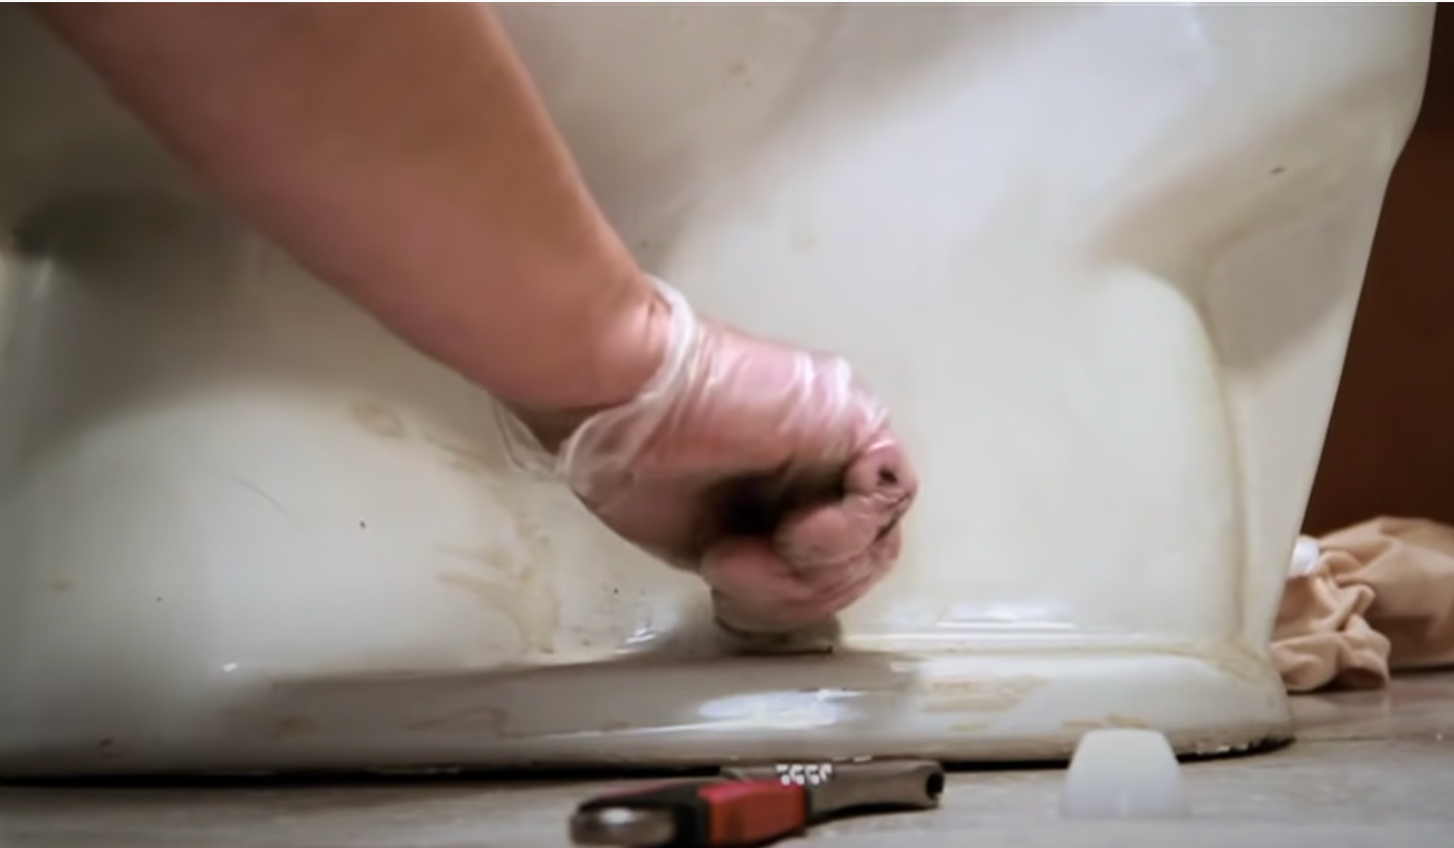
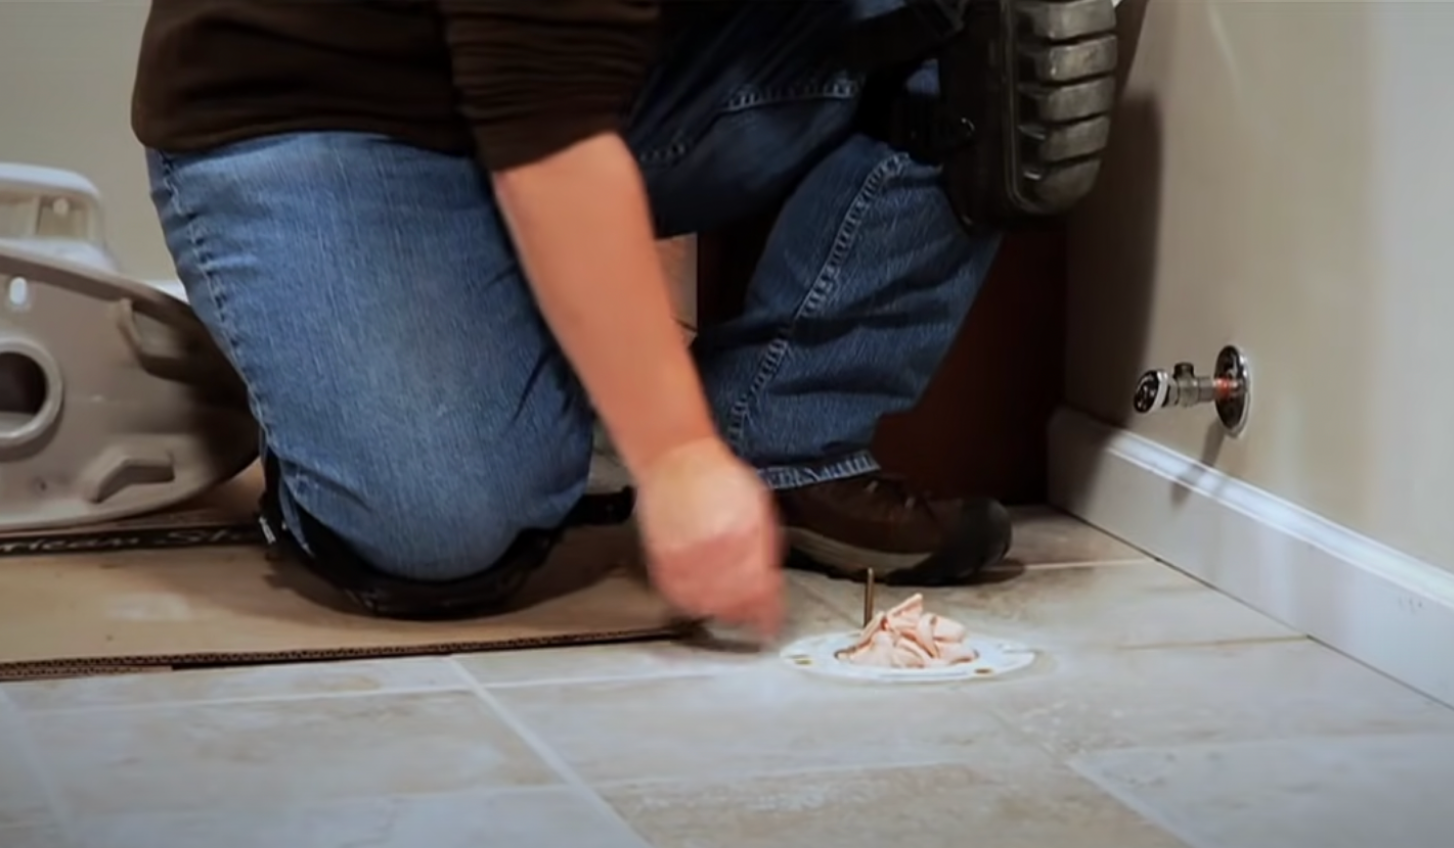
6. Remove the old closet bolts from the flange
Use the putty knife to remove the old wax seal, and wipe away any remaining wax with a damp rag or sponge.

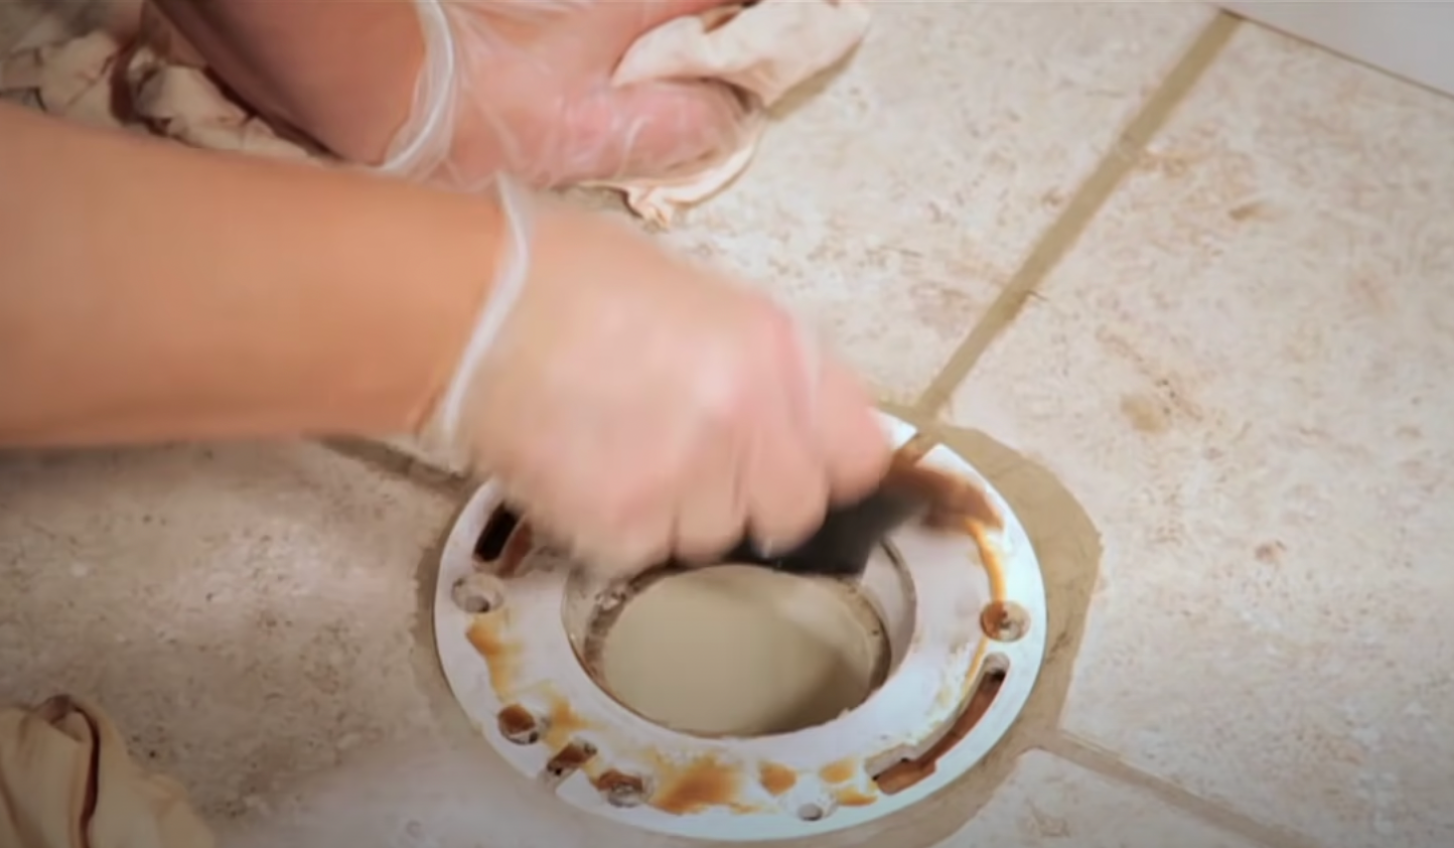
Stuff a rag into the hole in the open line to prevent sewer gases from backing up into your home, and to prevent tools from falling into the hole.
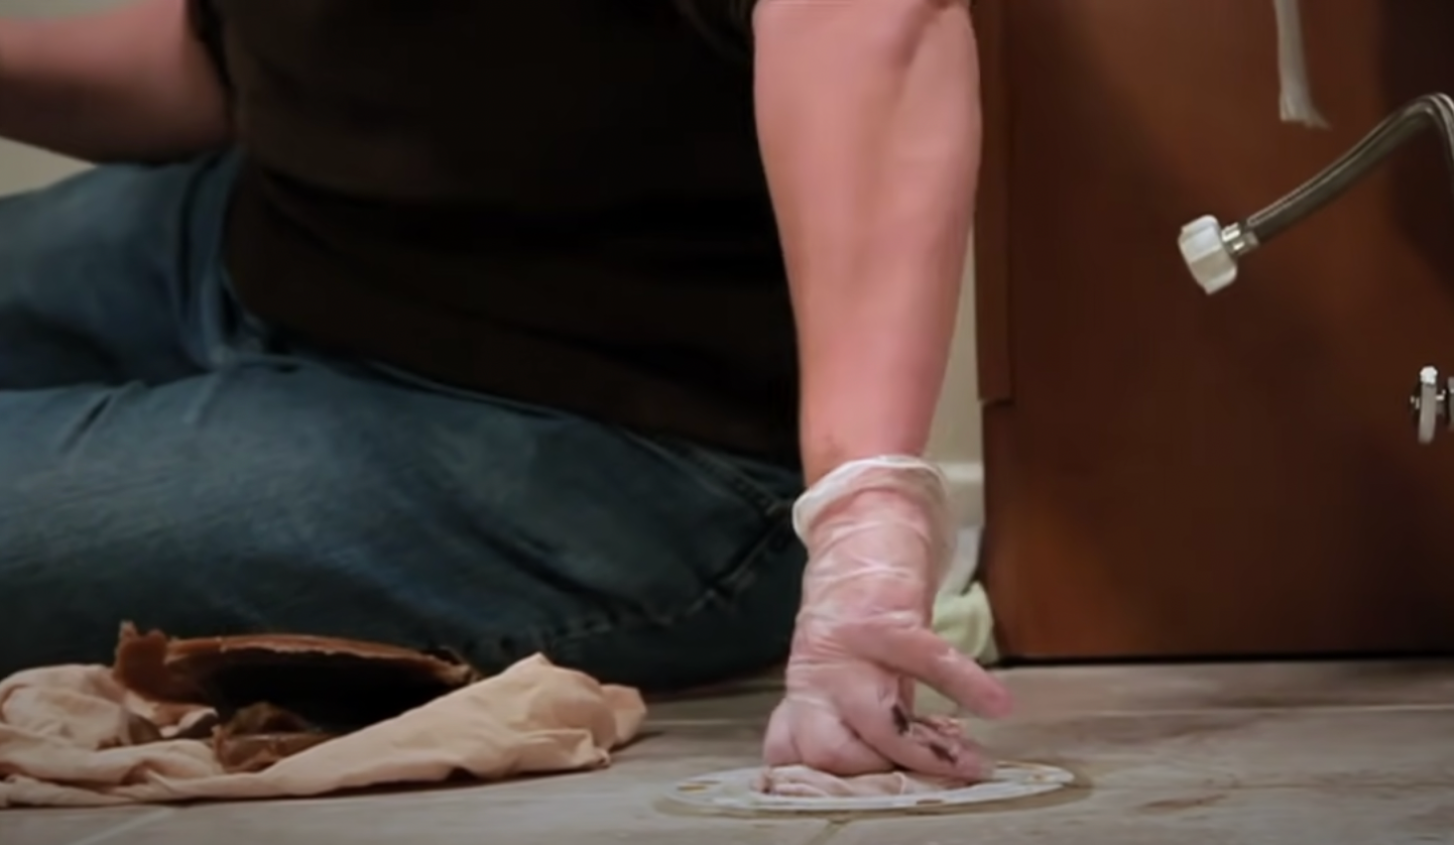
7. Inspect the flange
If the flange is cracked or broken, you can use an adapter to fit over the old one (sometimes called a super-flange) to ensure good connection for the new toilet.
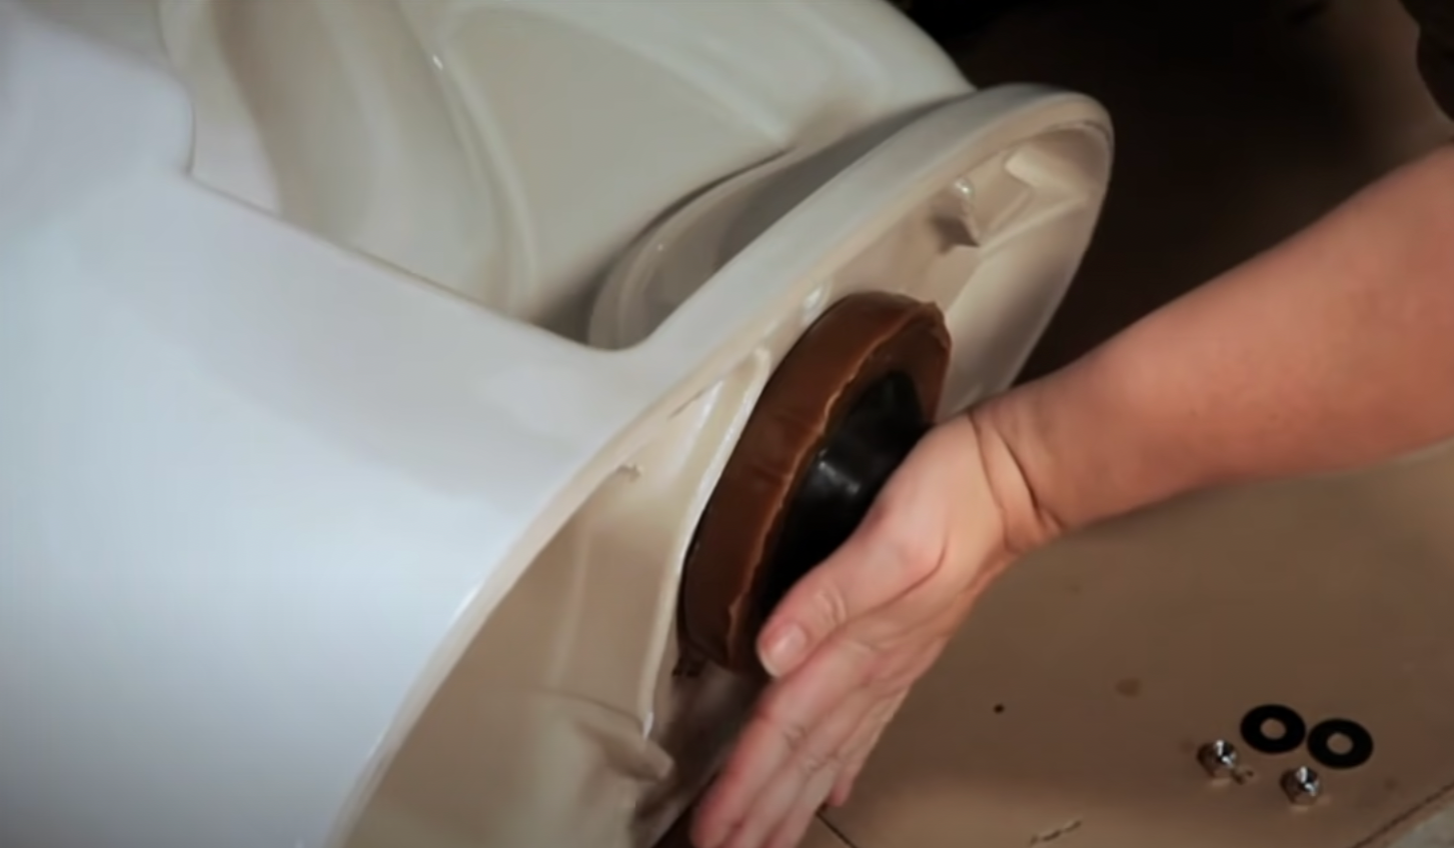
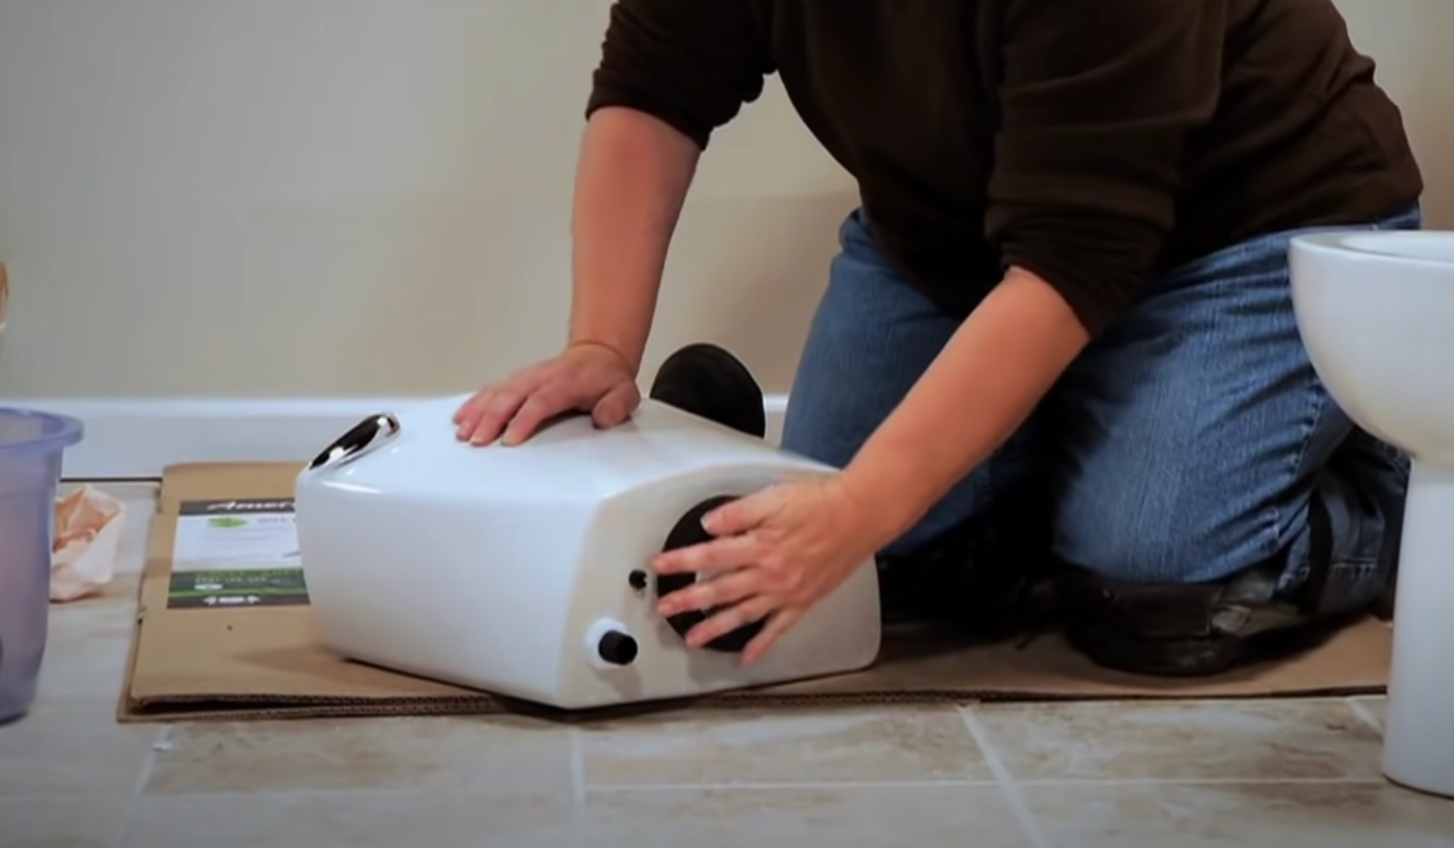
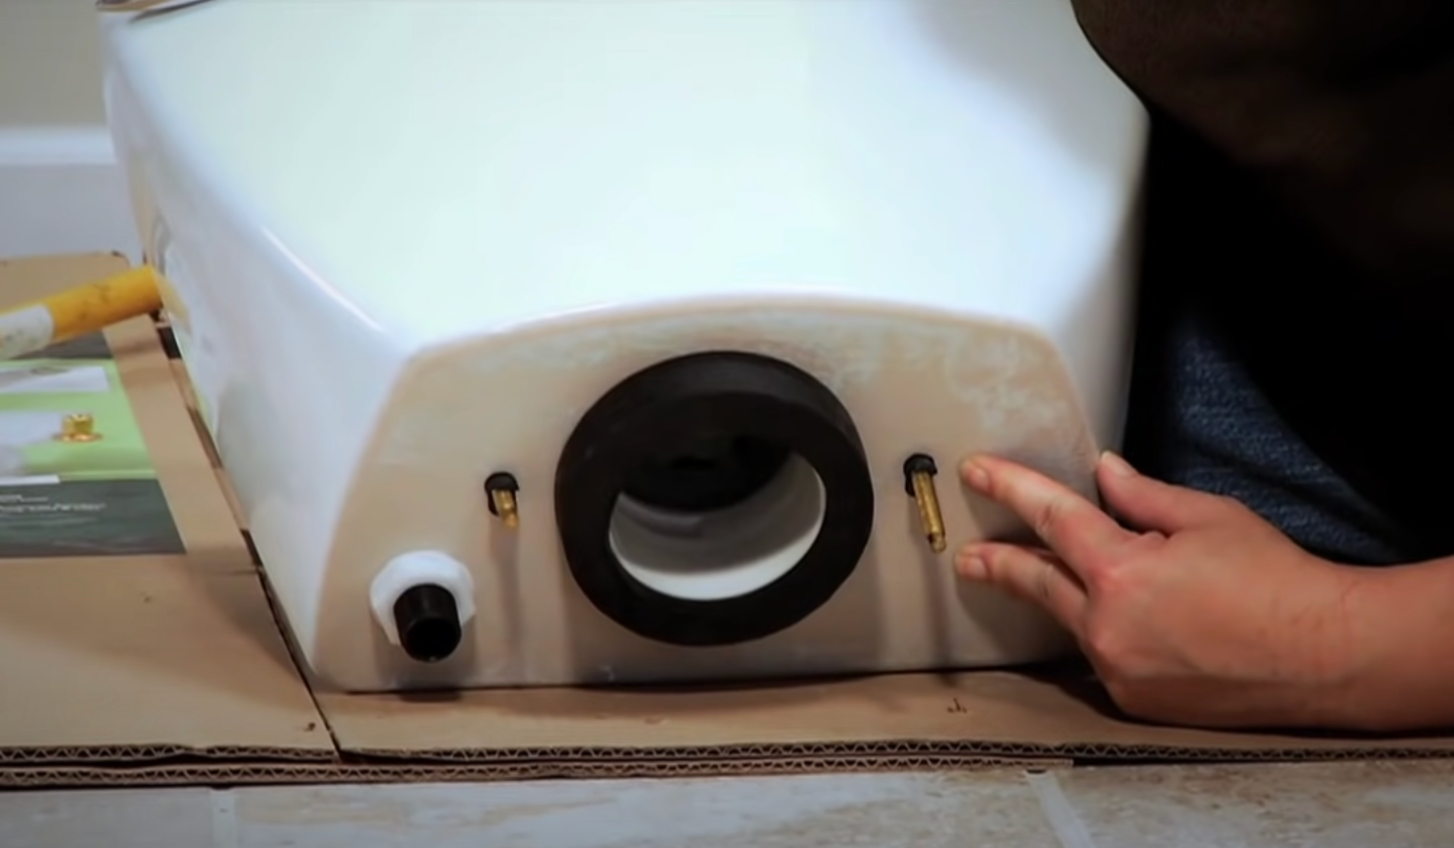
8. Rest the new toilet on its side on a padded surface and attach the replacement wax seal to the bottom of the bowl
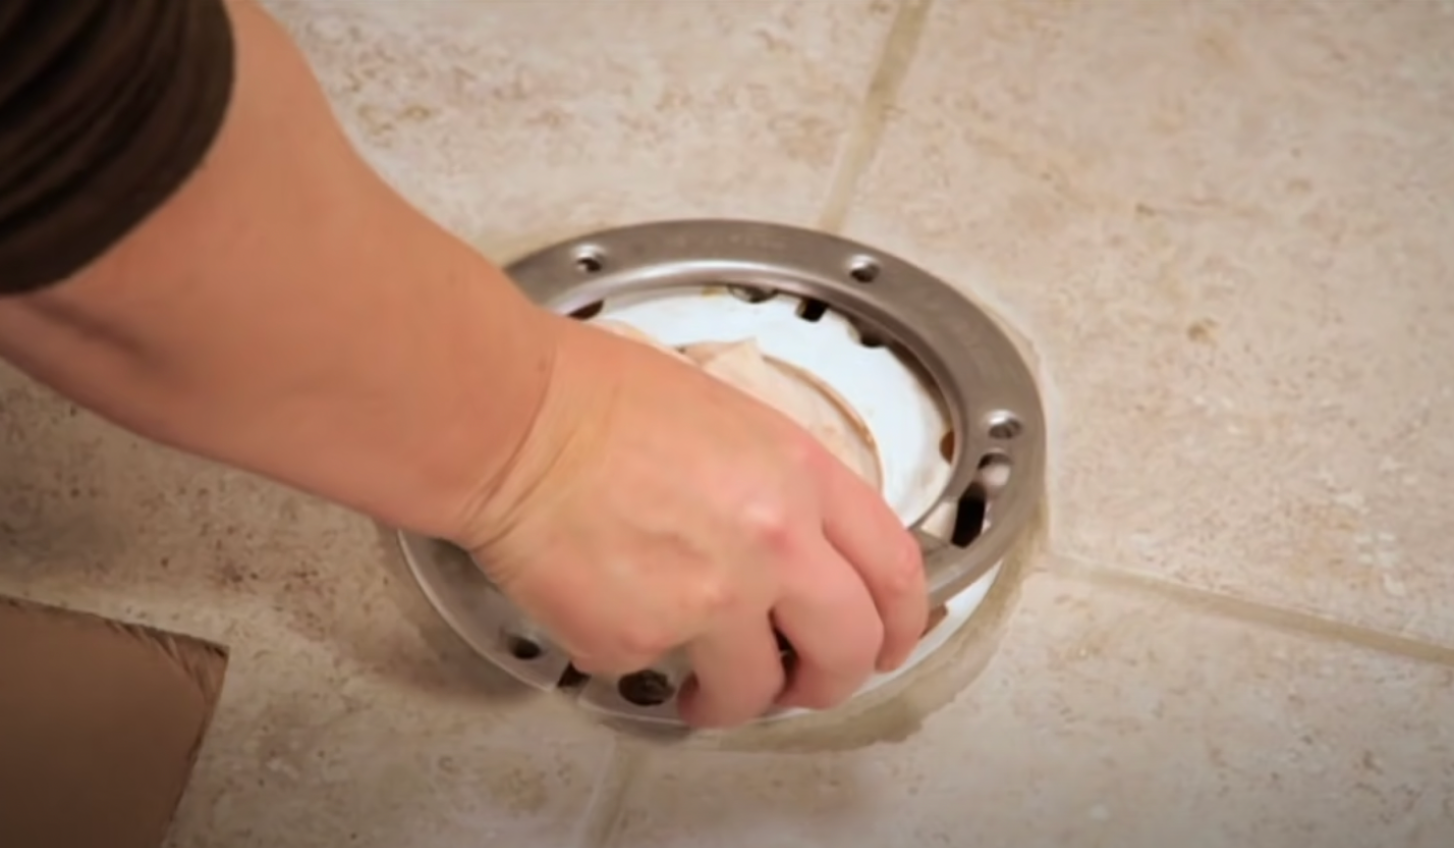
9. Pop the new closet bolts into their spots on the flange
10. Remove the rag and place the bowl onto the flange
Align the toilet bowl outlet with the flange and press down to set the wax seal. Be careful not to move the toilet after setting the wax seal on the flange, as you can break the seal, which might result in leakage.
11. Secure the toilet
Place a plastic cap base, washer and nut onto each closet bolt. Evenly tighten the nuts onto the closet bolts. If the bolts extend too far over the washers and nuts, cut off the excess using a hacksaw.

12. Attach the tank to the toilet bowl
Install the tank-to-bowl gasket to the base of the flush valve.
Insert the tank bolts and washers from inside the tank.
Place the tank onto the bowl, aligning the shank of the bolts with the holes in the bowl.
Secure the tank to the bowl by alternately tightening each nut to each tank bolt until the tank holds down and comes in contact with the bowl.

13. Perform the final touches
Pop the trim caps into place to hide the closet bolts (red box below). Secure the new seat and lid to the bowl with mounting bolts.

Reconnect the supply line to the bottom of the tank.
Don't forget to turn the water back on when you're finished!