

When removing of base and trim, it is important to do it carefully as often times it can be salvaged.
1. Prepare the required tools
2. Start at an outside corner
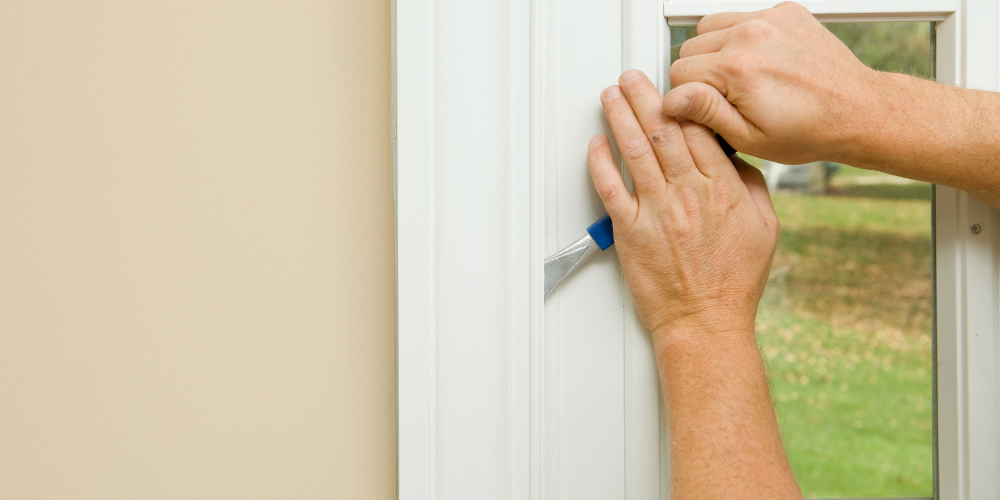
3. Score the caulk
4. Remove Quarter Round/Shoe Molding
Many times there is Quarter Round (shoe Molding) at the bottom of the base.
This needs to be removed first:
- Use a thin putty knife and place behind the Shoe molding
- Tap with a hammer to separate from the Base
- Use a Pry bar with the wood block against the wall to pry away from the Base

5. Remove the Base
Remove the Base from the wall:
- Double check the scoring to make sure it is separated from the wall
- Use a thin putty knife and place behind the Base and reassure the Caulk is clear
- Between the Base and the wall, Place a prybar with a wood block behind it
- Tap with a hammer to separate the Base from the wall
- If the Base was installed before the floor, you may have to pry up on the base slightly to free it

They do have some Base/Trim pullers on the market that can help make the removal a little easier:

6. If baseboard is being salvaged - Label each board & wall
Baseboard can usually be salvaged, however, in the case of Cat 3 mitigations, it must be discarded
When salvaging the baseboard, label the back of each board as it is removed
- Assign a letter to the room (ex. R = Rec Room; K = Kitchen, L= Living Room)
- Then number each board as it's removed (1, 2, 3)
This means if board is mixed up when stored, you can gather all the letters together, then lay out the numbers to determine the order in which they are reinstalled
Use a pencil to label the wall with the matching code
- In the space where the board was removed, pencil in the code that you wrote on the board
- Ex. R2
7. If baseboard is being salvaged - Remove nails from board and wall
8. Store baseboard if baseboard is being salvaged
Wrap together the baseboard from each room (as possible - multiple bundles may be required)
- Label each bundle with the full room name with a piece of blue tape.
- Store in a safe and dry area.