

This process outlines how to tile a stairway including nosing and risers.
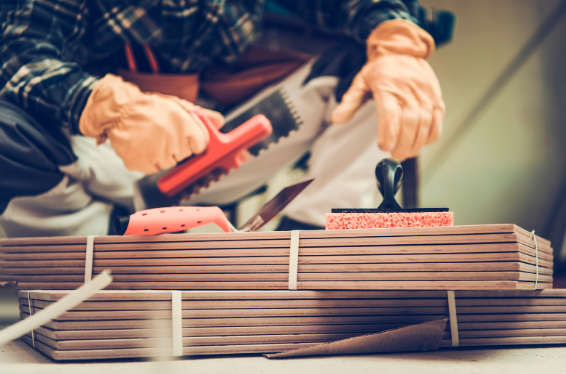
1. Gather Materials
- Tile saw or tile scoring tool
- Mortar
- Buckets
- Mortar paddle
- Measuring Tape
- Chalk line
- Notched trowel (Choosing a trowel is based on the size of the tile)
- 4" and less use 3/16 or 1/4 v notch trowel
- 4-8" 1/4x1/4 square notch
- 8-16" 1/4x3/8 square notch
- 16"and larger 1/2x1/2 square notch
- Tile spacers
- Level (4 ft) or straight edge
- Grout
- Grout float
- Grout sponge
- Sealant
- Grout sealer applicator or small paint brush
2. Choose a step edge
There are three choices when doing an edge on tile stairs, nosings or edgings are both there to protect the edge of the tile from chipping.
- Tiled stair edging. You can get a ceramic tile nosing or tile tread to make steps safe to walk, the have a rounded edge, have a nice clean finish and can be bought in the same color pallet as most flooring tiles. These tiles are usually laid before the rest of the stair tread tiles.
- Metal edging is cheaper then tiled edging, usually comes in 8 or 12 lengths an is cut to match your stairs. it comes a squared or bullnose products, one product line example is schluter. This product has to be laid prior to the tile, some apply in mortar some a screwed into place.
- Tiled edge stairs are the cheapest, you just start the first tile lined up with the edge of the step. Be sure to leave an overhang the width of tile and mortar if you will be tiling the risers as well.
3. Layout stair tiles and nosing
- When tiling stairs you begin at the top step and work your way down.
- Set your tile edge first whether its metal or tiled. Be sure to account for the thickness of any tile going on the risers if tiling those as well
- Center the first tile on the stairs and work center out.
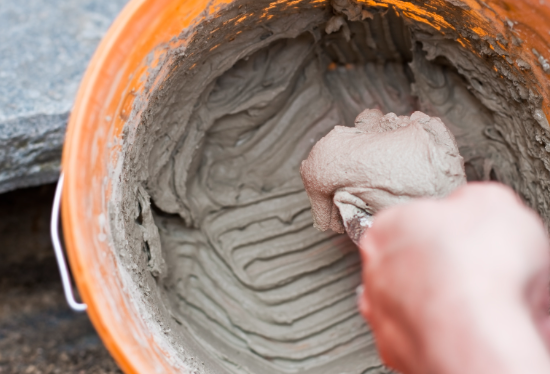
4. Prepare and lay the mortar
See the Process How to Mix Mortar for Tiling
- The mortar should have a finished consistency like creamy peanut butter
- Spread some mortar on the wall, a couple of tiles worth, using the appropriate trowel to spread and cover the entire space your are going to place the tile in.
- Make sure the mortar is evenly spread any humps or low spots can cause the tiles to break when it cures.
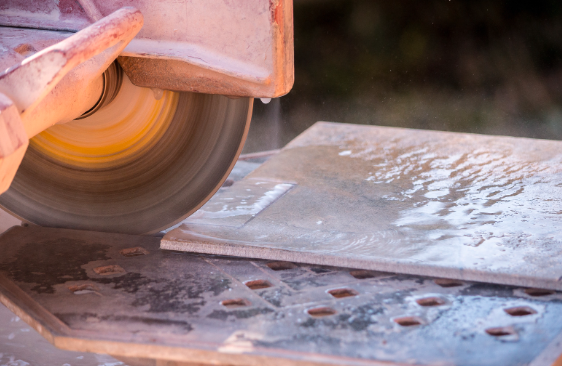
5. Cut the tile
There are 2 primary methods to cut tiles, score and snap or cutting with a saw
- Lay a tile over the existing tile to mark where it needs to be cut
- Place the tile on the score and snap tool, line up the marks, and either push or pull to score the tile. Press down on the handle to snap the tile.
- Cutting with a wet saw, a wet saw uses a diamond blade to cut the tile mark the tile with a pencil and then cut along the line, the wet saw has a sliding deck that moves the tile into the blade, make sure this is done where there can be water and splashing, without water the blade heats up and will not last long. For more information see the process How to use a tile saw
- Set the cut tile and move on to the next one.
- Alternate methods are to use diamond blades on other tools, diamond hole saws for drills, small diamond blades for grinders or even skill saws, these alternative cutting methods don't use water and the blades don't usually last as long.
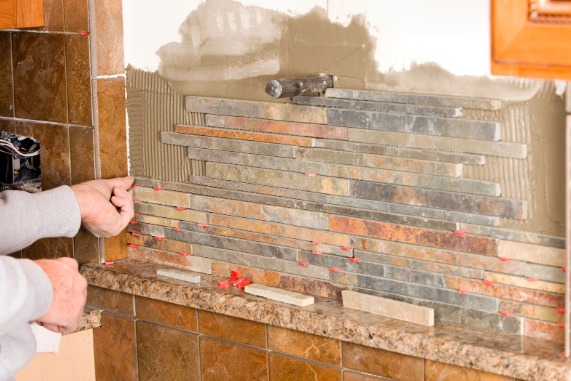
6. Set the tile
- Setting tiles for backsplashes or walls is more difficult than floors due to gravity.
- Starting at the bottom of the backsplash press the tile evenly into the mortar twisting it a little to set it well.
- Use tile spacers to keep the tiles even and from slipping down
- a straight edge and level should be used to ensure the tiles stay level and even while going up the wall
- The top row will either sit under a cabinet (you should all the way up to the cabinet), or finish on the wall. Most back splashes do not go all the way to the ceiling. a capping tile or complete uncut row should be your top layer if not under a cabinet.
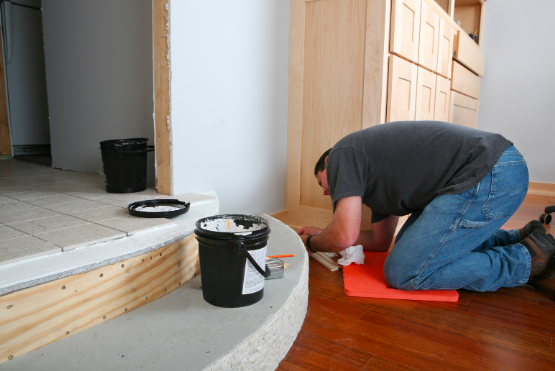
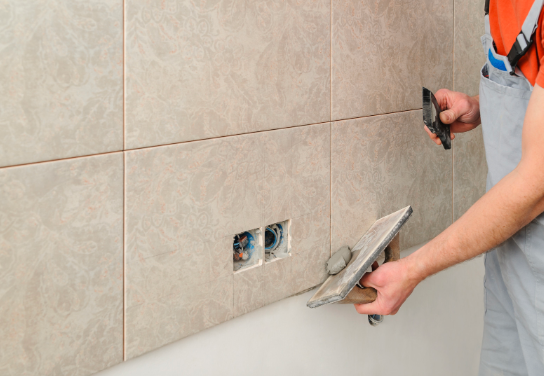
7. Grout the tiles
- Remove any tile spacers that you can or that stick up above the tile
- Mix the chosen grout color (see the process How to Mix Grout for Tiling)
- Hold the float at approximately a 30 degree angle and spread the grout over the cracks in the tile, push at an angle to the cracks, this will prevent the float from dipping into the cracks, use crescent like motions to fill the cracks entirely
- When finished a section hold the float 90 degrees to the floor and push grout to the next section.
- Let the grout set up for 15-20 minutes then wipe the tiles with a damp sponge to remove any grout from the face of the tile
- Once done leave the grout to cure for 24-72 hours depending on manufactures specs
- Some grouts require periodic misting with water to cure evenly, be sure to follow manufactures specs on grout curing
8. Seal the tiles