

Proper Estimating will avoid estimate rejections and increase cash flow. Xactimate is the most familiar estimating Platform in Insurance Restoration.
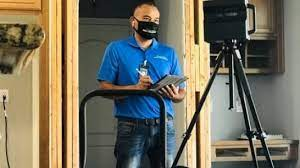
1. Take Photos
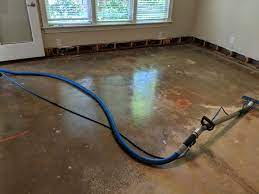
Photos are extremely important
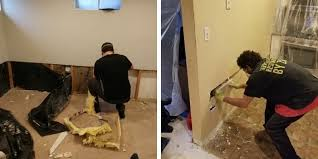
- Photos before starting work
- Photos during removals/Demo
- Photos of Equipment Places
- Daily Progress Photos
- Final Photos
A great way to document everything is to do a Daily Walk through Video of the entire affected area.


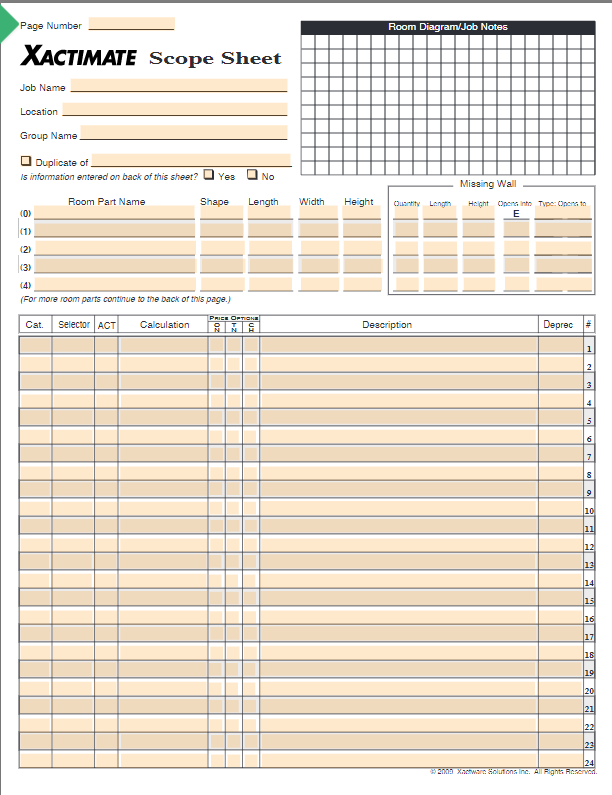
2. Initial Scope Sheet
Initial Scope sheet
- Take notes as you are scoping the loss initially
- Write a detailed scope sheet as to what work is needed
- Explain to the homeowner that this may change as removals are performed
- If there are any changes, a revised Scope sheet needs to be created and agreed to by the homeowner
- As with any claim, be sure to go over the scope with the adjuster to receive the go ahead to proceed. This is done to confirm coverage
A Complete/Accurate scope is essential. Scope of Work Defines Project Estimate Accuracy.
3. Train technicians to ask the right questions
Asking the right questions to the homeowner
- What was the source of the water
- When was it discovered
- How long do they think the property was wet
- Based on these questions determine the Category of water


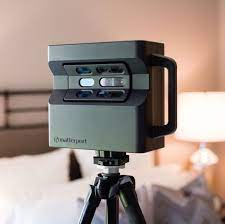
4. Diagram the affected area
It is very important to sketch the affected areas accurately so that the affected areas can be sketched in Xactimate
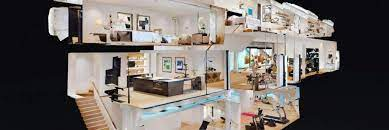
- Using tools like Matterport are an Excellent way to get an accurate sketch, especially when there are multiple rooms or floors. There is a cost to this, however, it is very worth it
- The Benefit of a Mattterport is that you are provided with a 3d tour of the home on your computer.
- You can walk through the entire affected areas which is very helpful when writing an estimate.

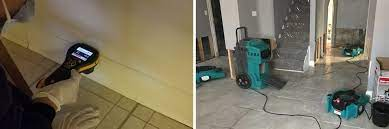
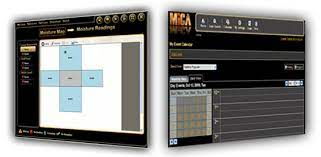
5. Take Daily Reading Entries using Drylog Software
It is very important to monitor the job every day
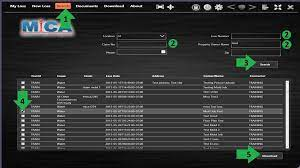
- Using Software tools like MICA, Encircle, etc. make this easy and provide detailed reports
- Showing the progress of the drying is very important to share with the adjuster to justify the equipment placed
6. Put together a final packet for the estimator
- Make sure all photos are labeled (Must Match the room names on the sketch)
- Make sure a proper sketch is done, or ordered from Matterport
- Make sure the Rooms listed on the Scope Sheet match the labeled Rooms in your photos and sketch
- Make sure all readings are entered properly showing the drying progress until dry
- Make sure that there is a complete Scope Sheet by room
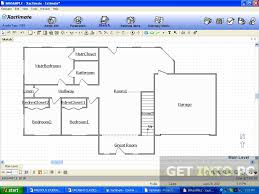
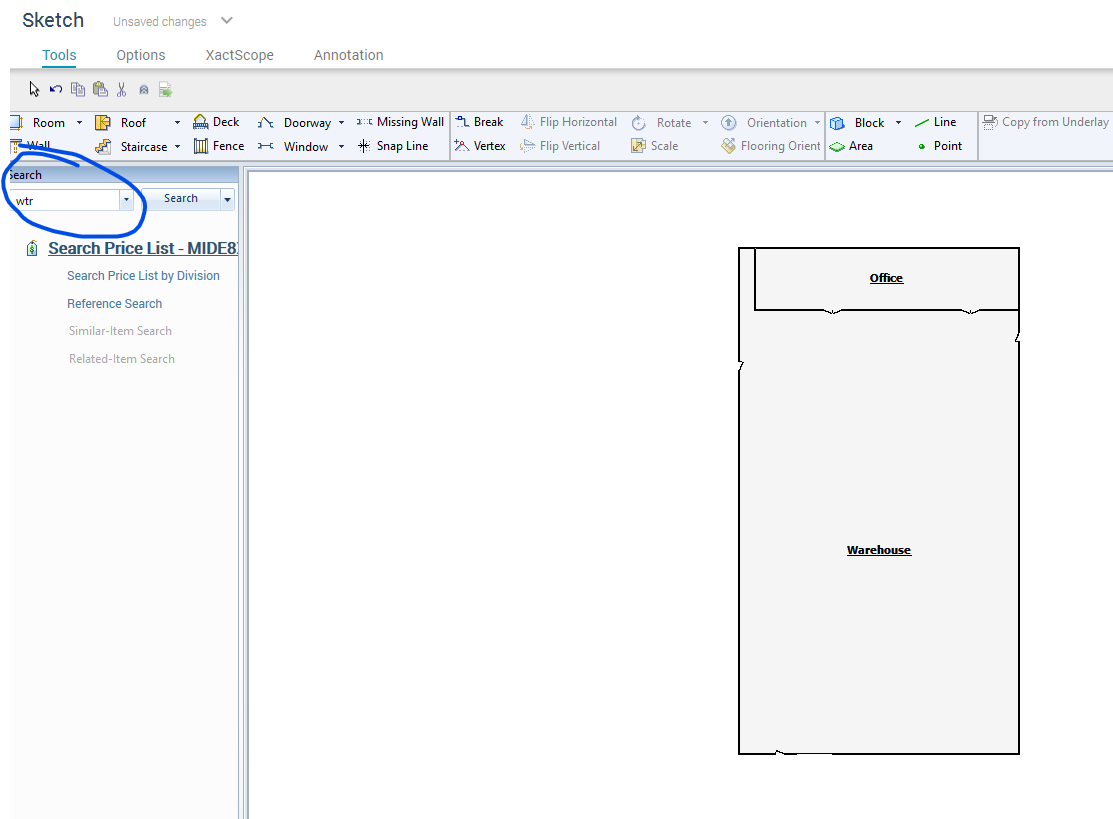
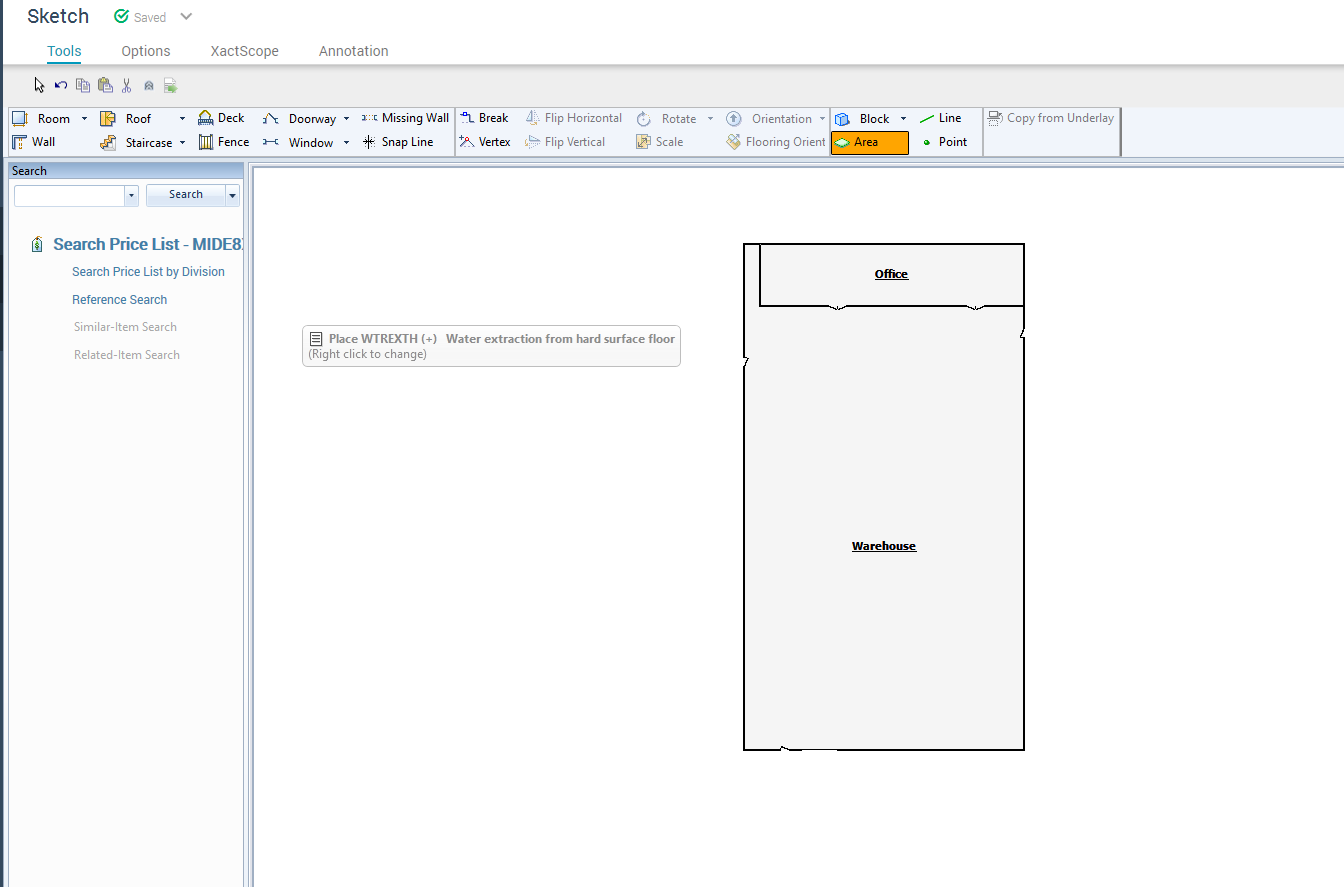
7. Create sketch in Xactimate
- Start with a Corner Room to Build off of
- On the upper left of the Sketch Screen, hit the 'room' button and Place on the sketch area
- Dimension the room per your sketch
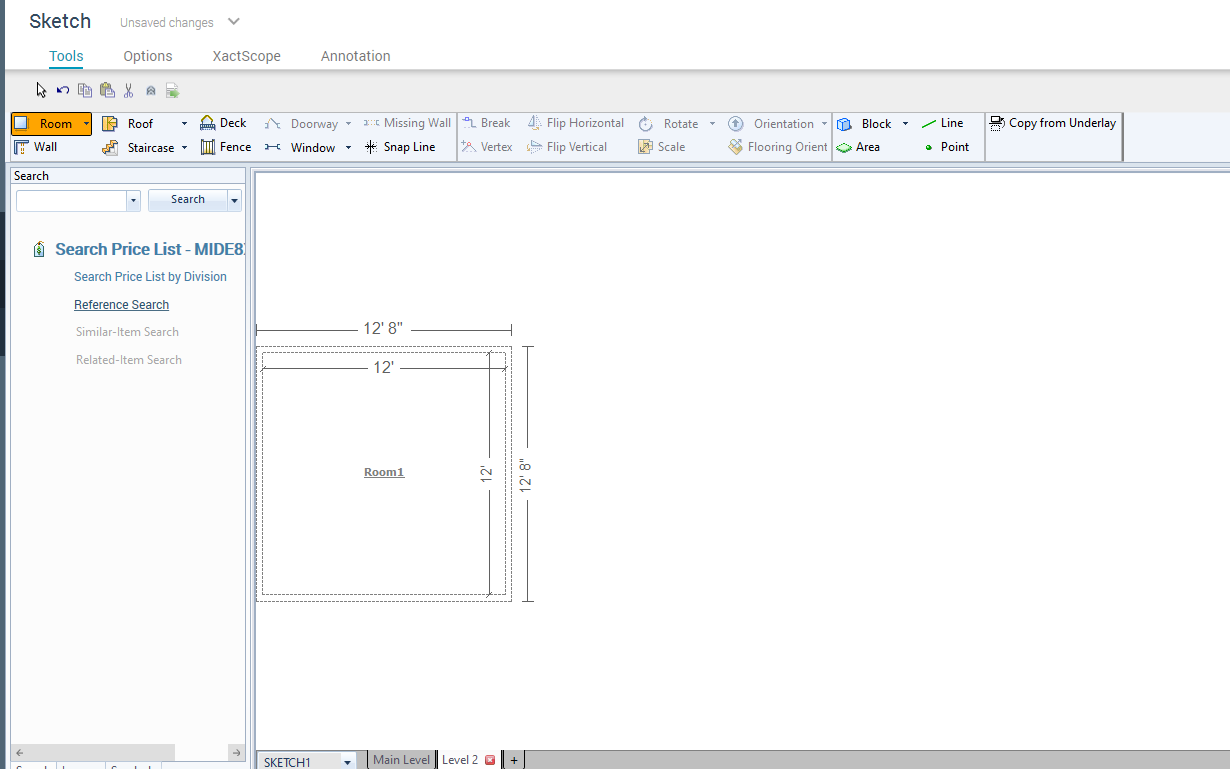
- Use the 'Break, Tool Item to create the room with insets
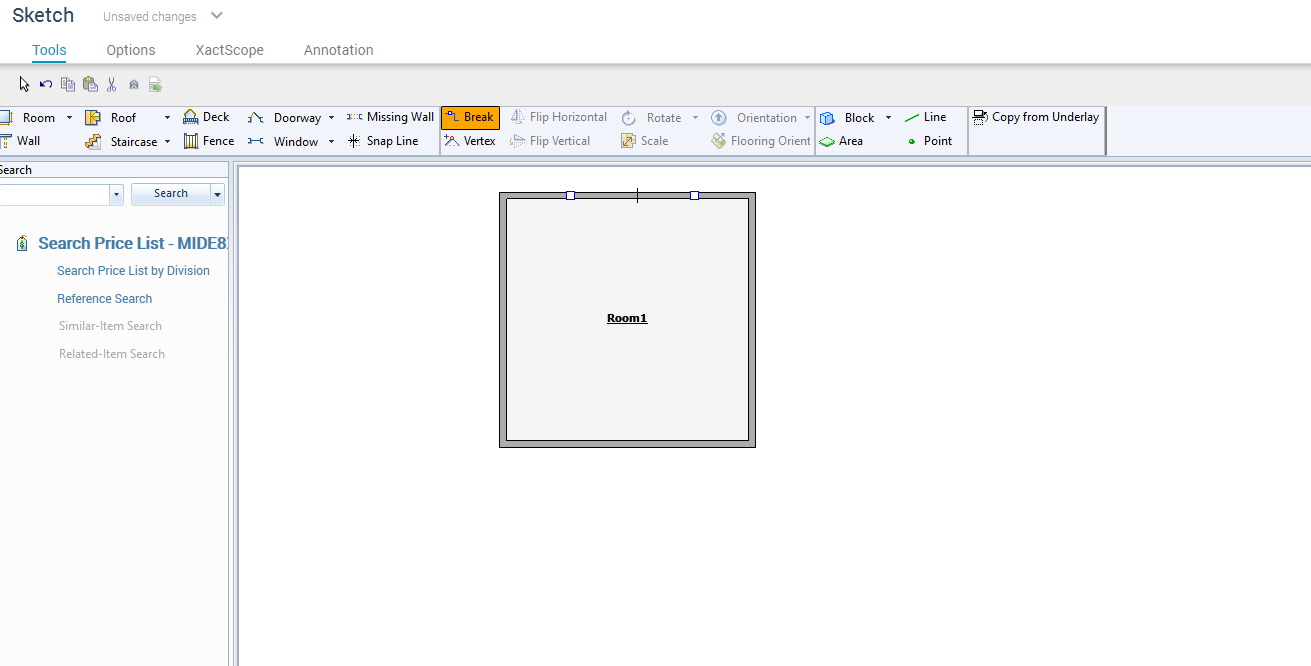
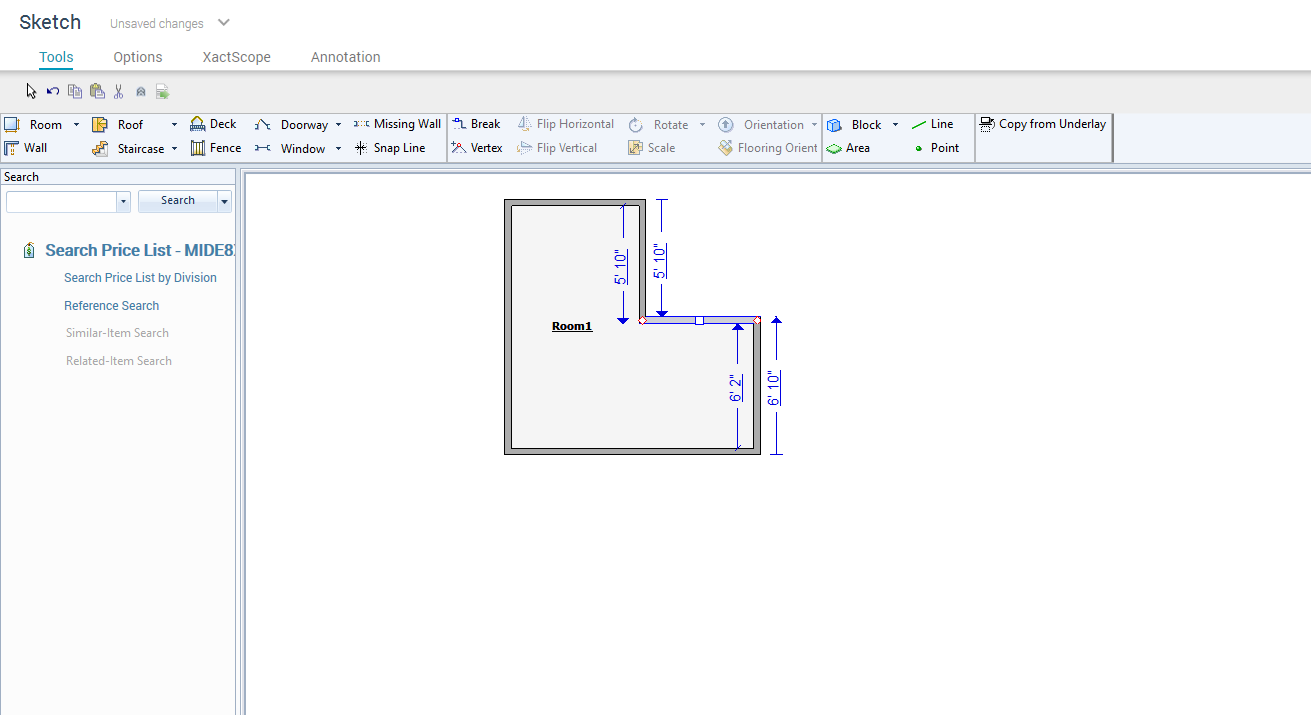
- Keep Adding Rooms until you have them all in:
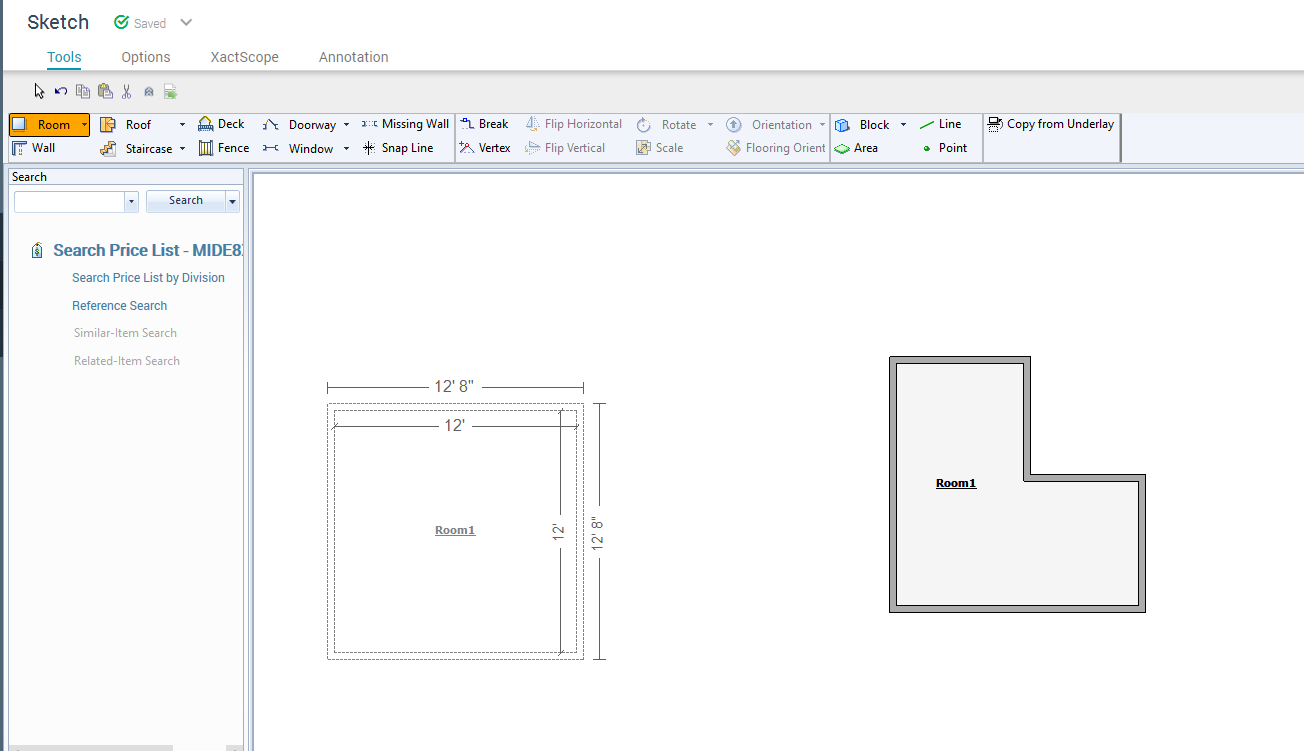
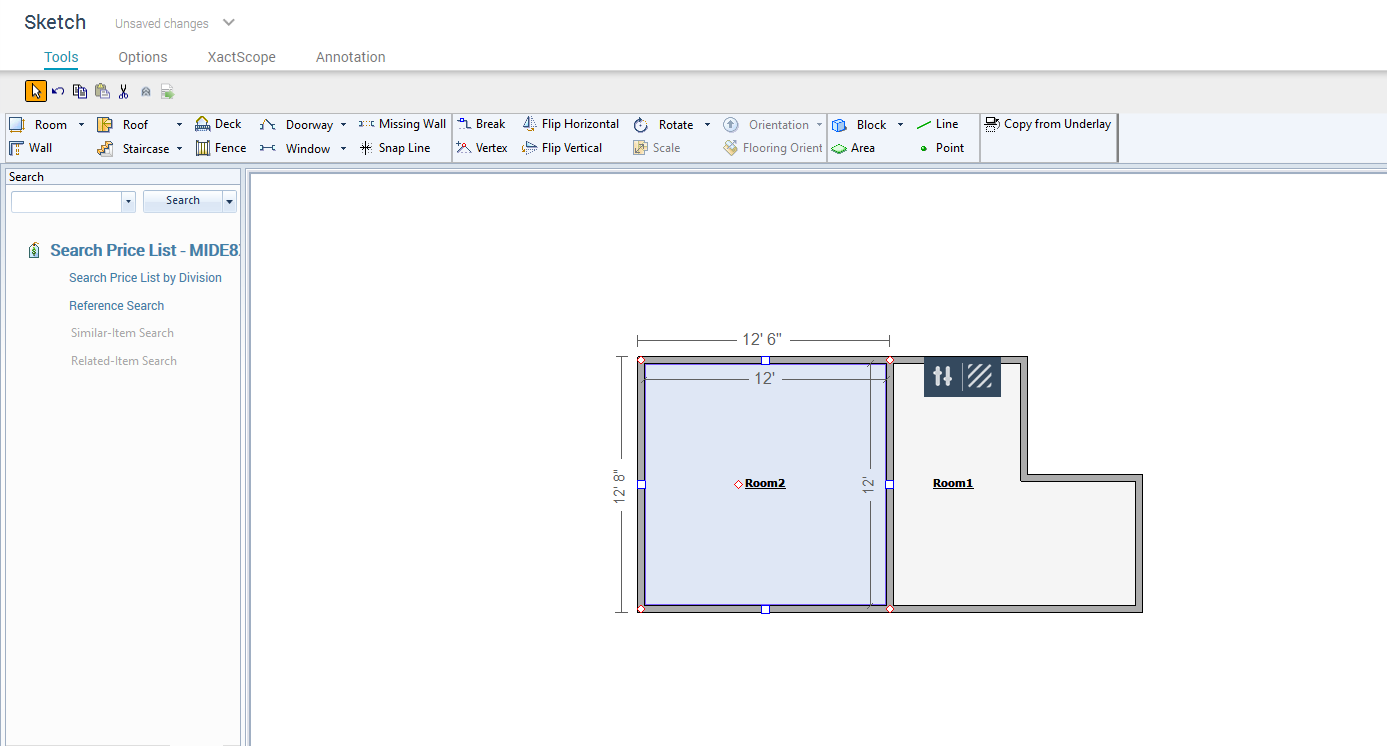
- When All Rooms are added, Start adding the line items:
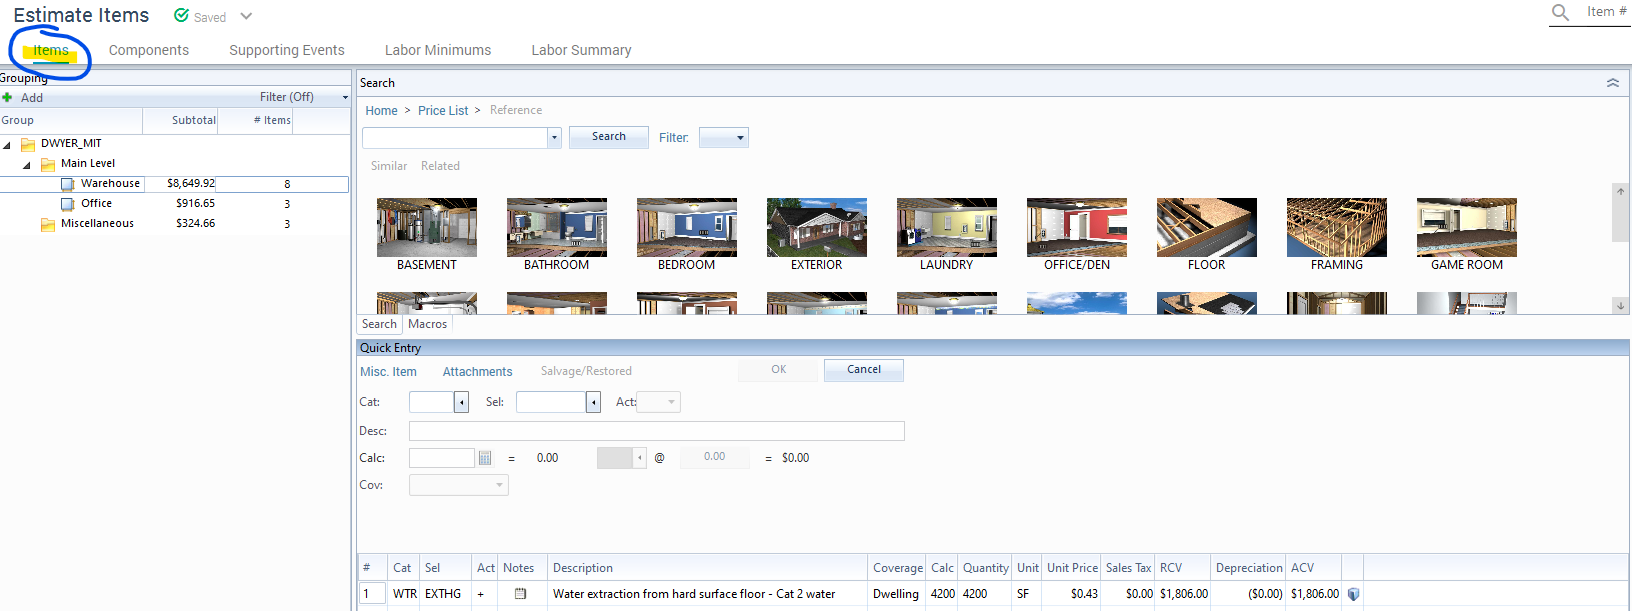
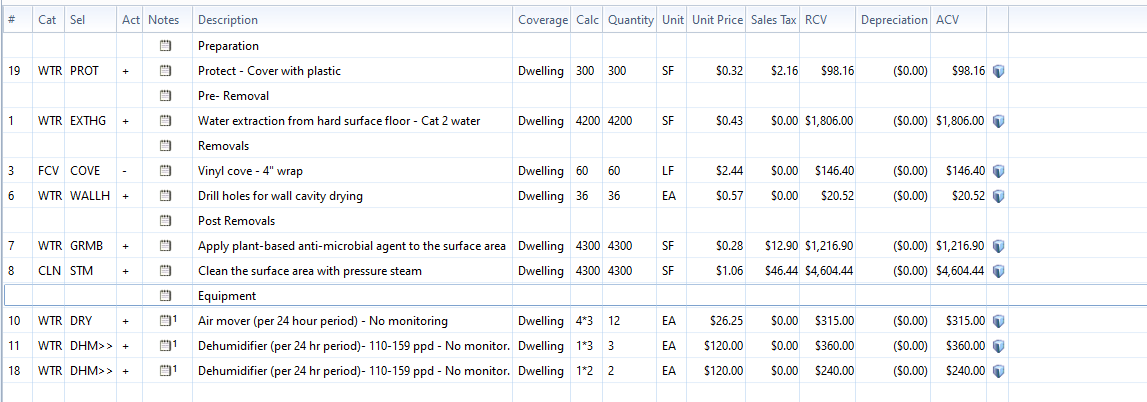
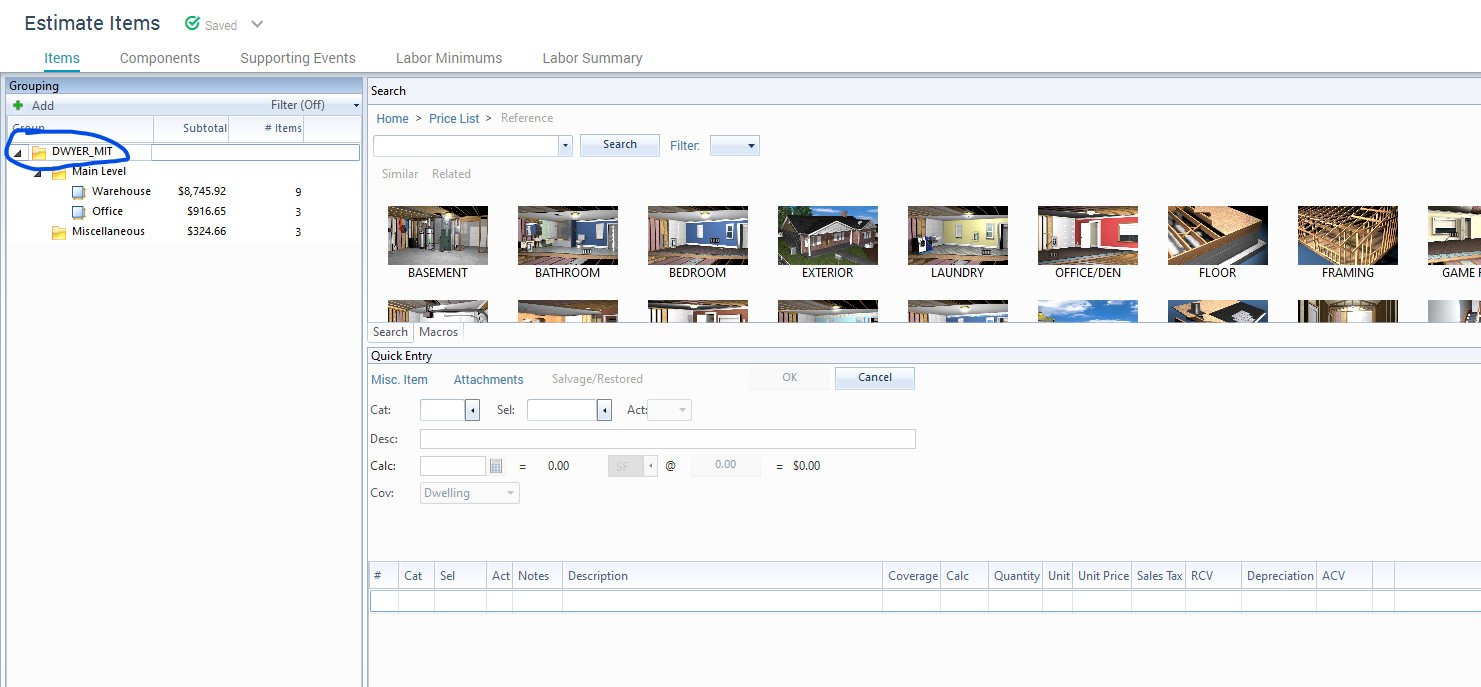
8. Organize Mitigation line items
Entering Mitigation Line Items
- For Most items, you will find them in the WTR Selector Code
- Xactimate has a great search tool to look for items
- For Contents manipulation you will use the CON Selector code
- For line items like removing Supply lines, capping water lines, etc, you will use the PLM Selector code
- You can use the search bar at the top to search the entire price list
- It is very important to check the scope sheet for accuracy using the photos and/or the Matterport, Often times technicians may not have everything on the tick sheet
- Go room by room in your sketch and enter all the items from the scope sheet
- You can also Enter items from the sketch screen by Highlighting the Room you want, and enter the line item on the left of the sketch, select and 'Drop' in the room
- Using the 'attachments' button, you can separate the items to clarify the estimate, For example:
'Preparation'(which would be items like Cover & Protect with Plastic, Contents Manipulation, Etc.), 'Pre- Removal'( Extraction, Furniture Blocking, Ext) ,
'Removals' (Carpet/ Pad Removal, Drywall Removal, Base, Ceiling Tiles, Etc),
'Post Removals' (Apply Anti-Microbial, Clean Floor/Stud walls,etc,
'Equipment' (Air movers and Dehumidifiers placed).


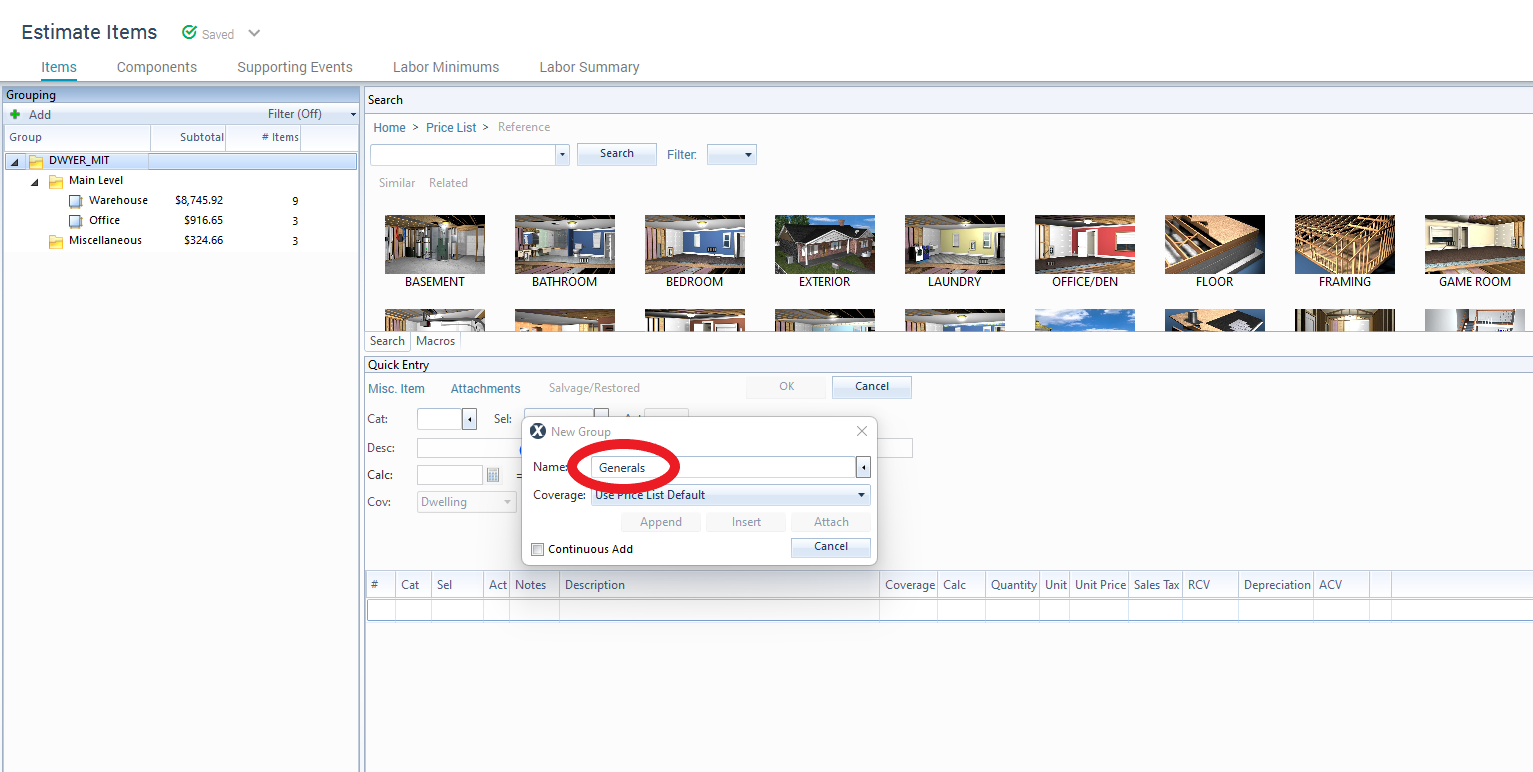
9. Add Miscellaneous/General Items
This Section is used to add items that are not specific to any room- For Example, Emergency Service Charges, Equipment setup and take down, Debris Hauling, etc)
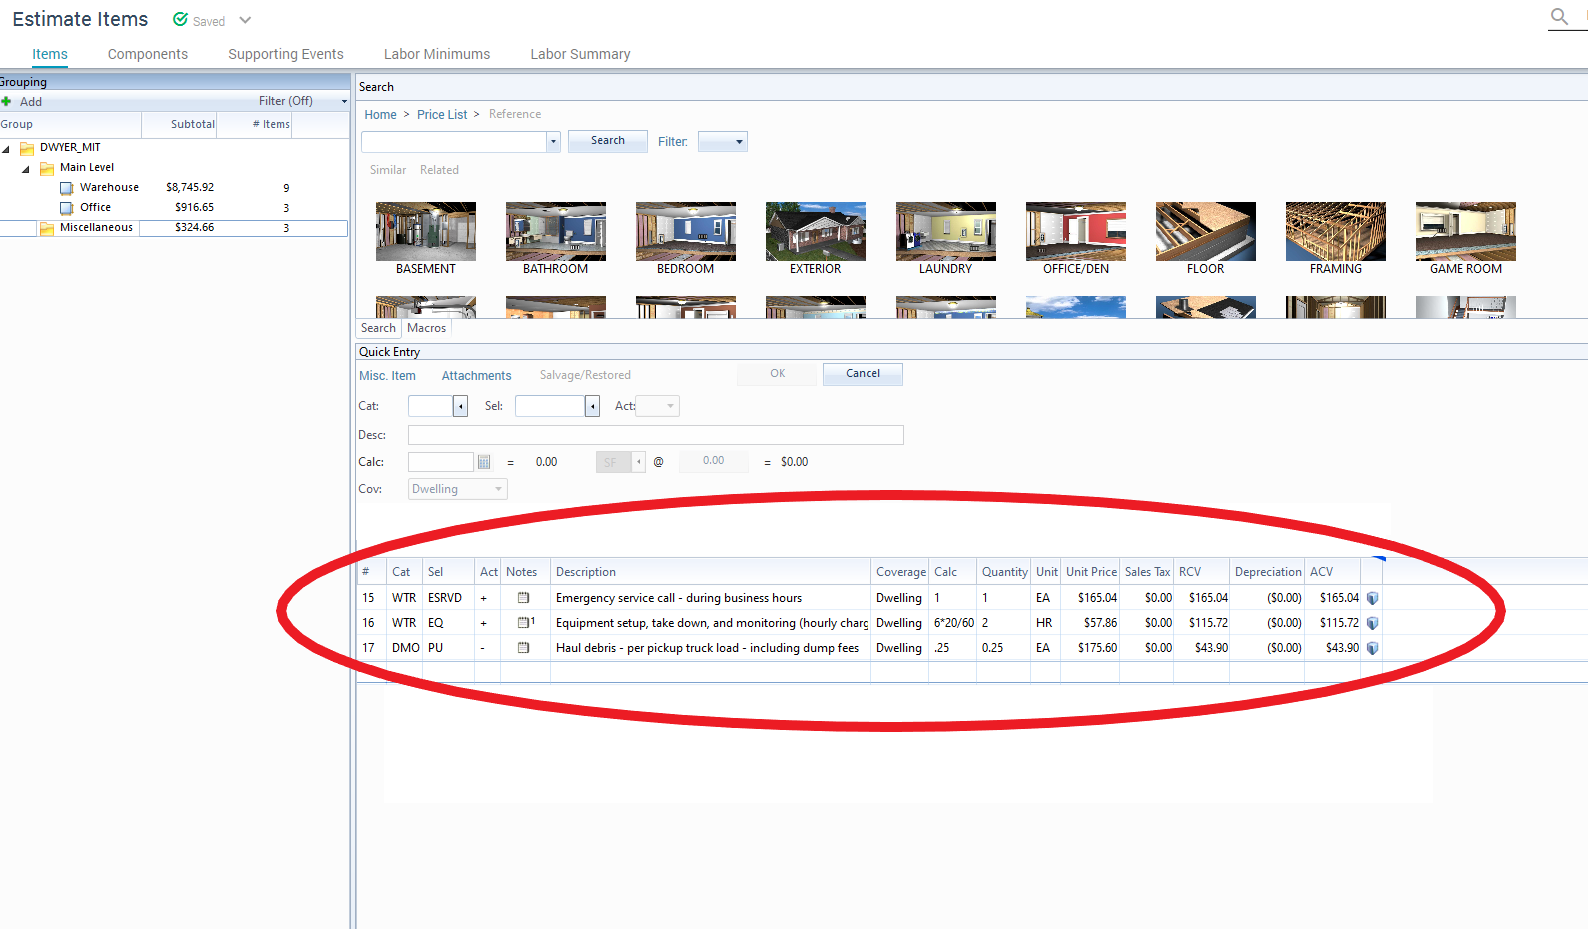
- Right Click on the top Line under Estimate Items:
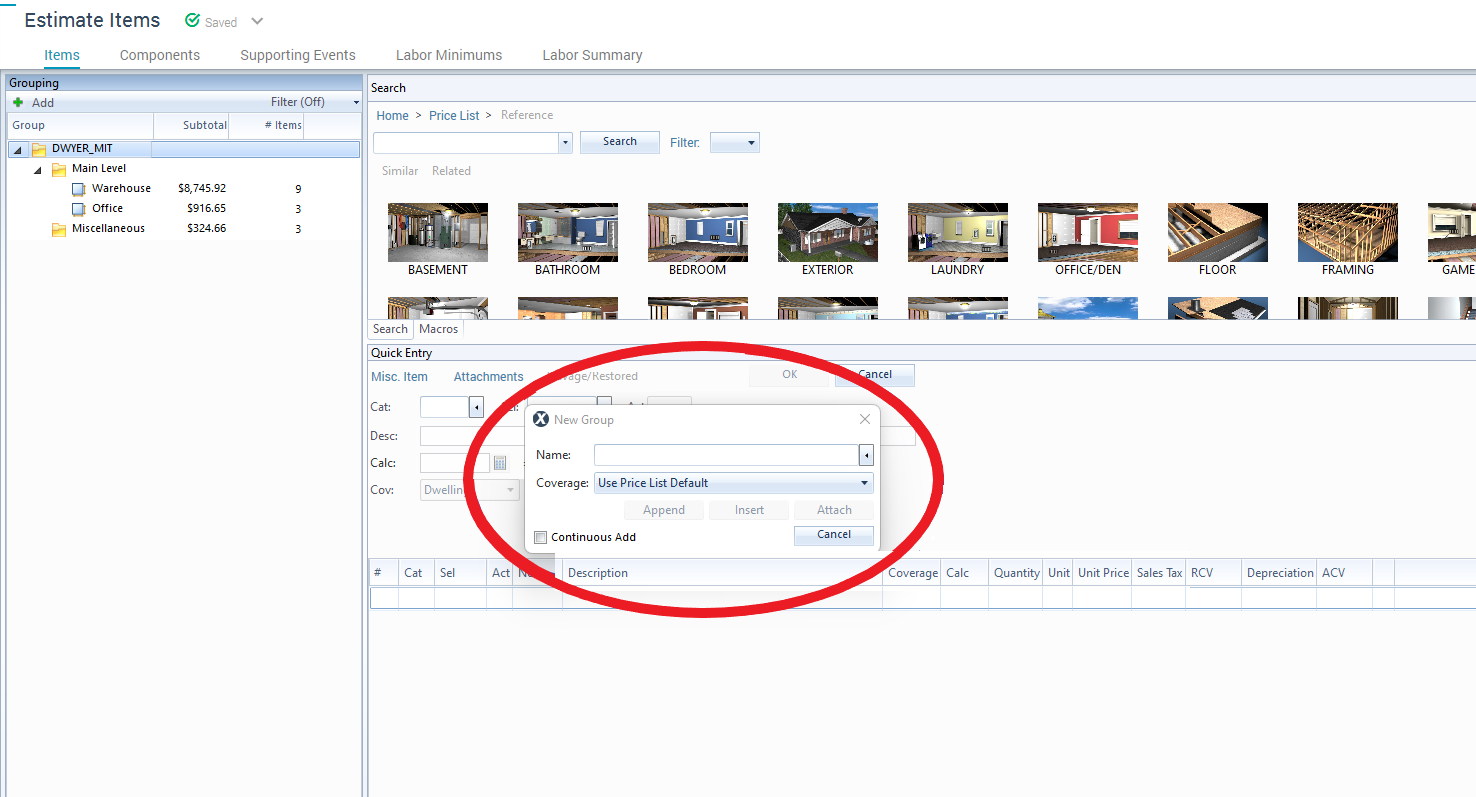
- From the Drop down list Select ' Miscellaneous' or you can just type 'Generals' and then hit the 'Attach' Button
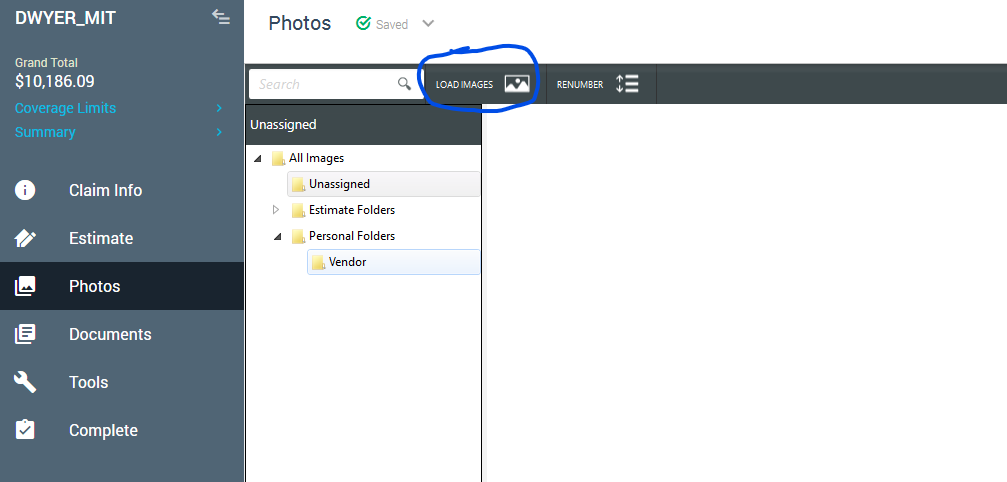
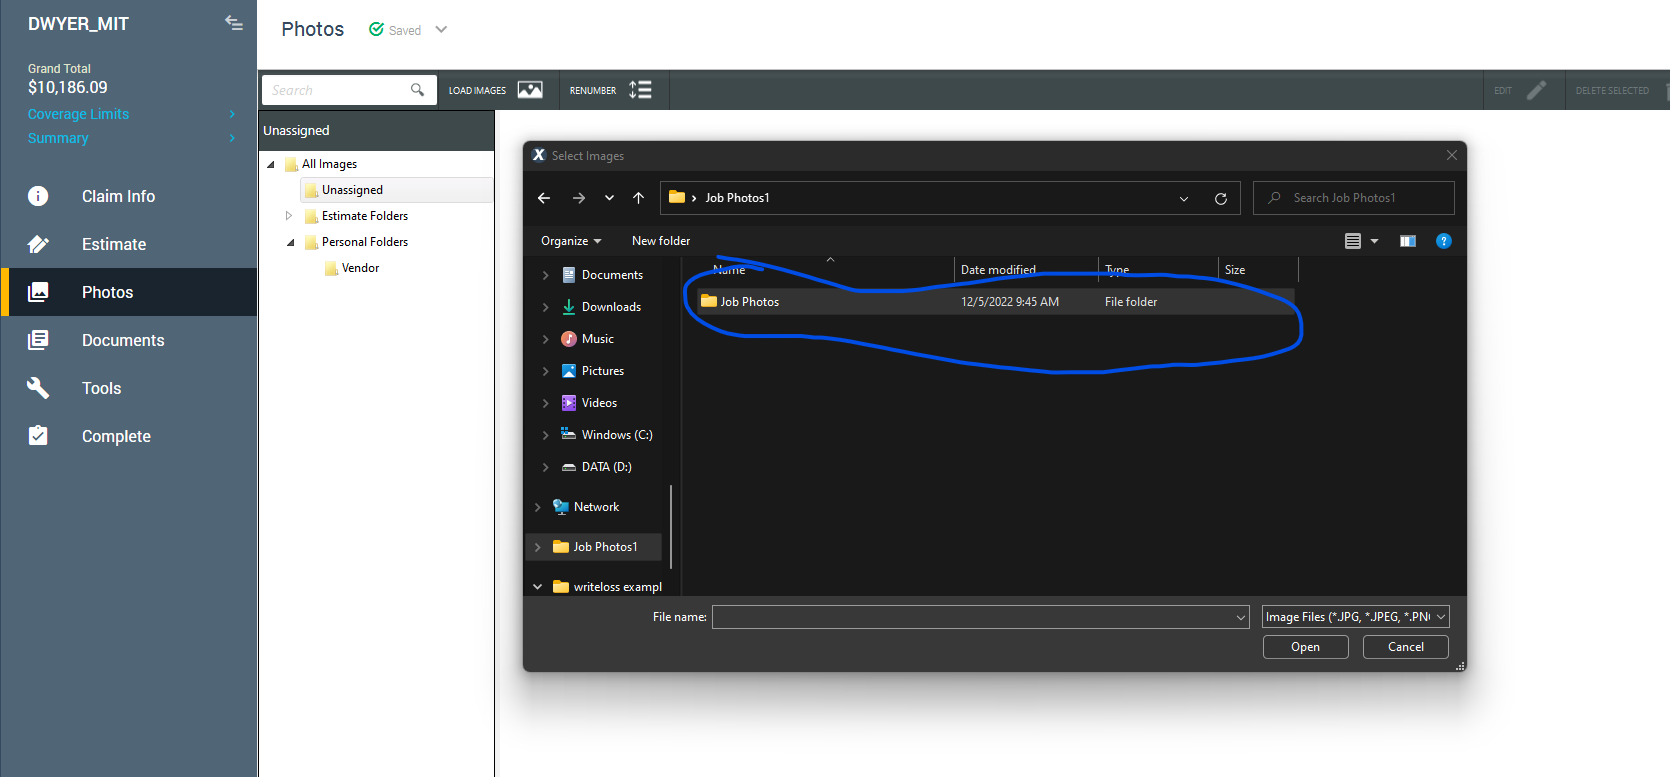
10. Upload Photos into Xactimate
Uploading Photos into the Xactimate Estimate
- Some adjusters/TPA programs require to add your photos directly into the estimate:
To do this, Select the 'Photos' Section on the left:
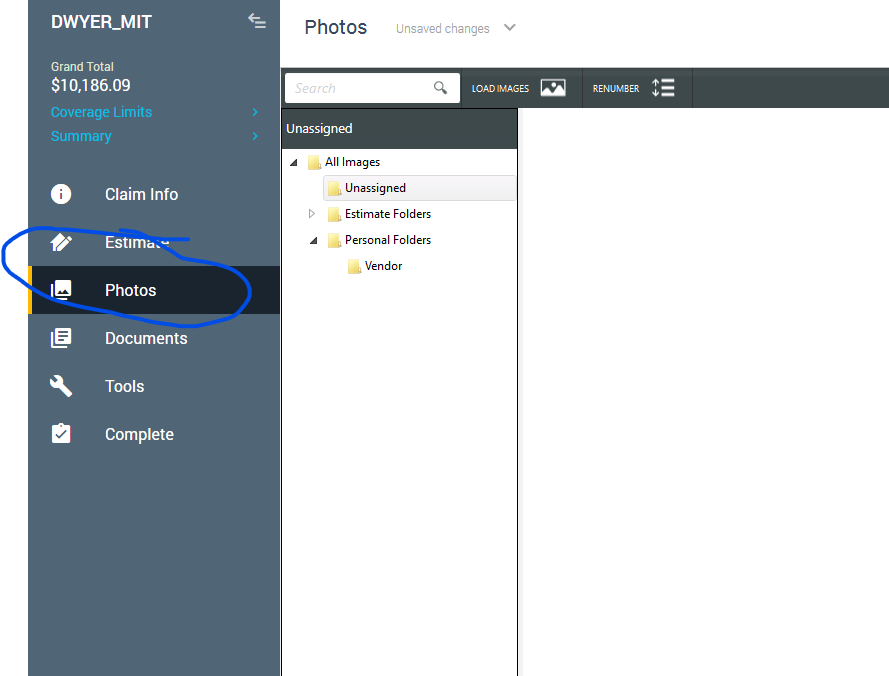
Next, Select the Load Images Button:
Then open the folder with you r photos, Select the photos and attach:
11. Understand Estimating Guidelines
Estimating Guidelines
- TPA Programs- Many contractors receive work from TPA's (Third Party Administrator)
- The TPA's Represent many different Carriers. Often times they have Guidelines that differ from Carrier to Carrier. For Example- Some allow Emergency Service Charges while others don't. Another Example is the amount of time allowed for monitoring equipment daily. The company you work for have agreed to these Guidelines, so they need to be correct
- 10/10 is typically not allowed on Mitigation estimates whether or not it is going through a TPA