What should the first day of Water Mitigation look like? It will always vary depending on the class and category of loss, but here's a great starting point.
KnowHow customers will be able to edit this pre-built template, as well as hundreds of others, to their own liking before assigning it to a new technician, or including it as a part of a larger onboarding workflow. With a KnowHow subscription, managers can see updates, employees can upload photos or notes, and processes like this can be translated into over a dozen languages.
---
1. Accept the claim information
First you will need to accept the loss from the program, homeowner, insurance adjuster. If this loss comes from a program, make sure you hit your appropriate touch points.
Get all the information you can from the homeowner!!!
2. Verify the homeowner's information
Verify homeowner's information:
- Loss address
- Contact information (phone numbers and emails)
- Special instructions (gate codes, parking instructions, etc.)
3. Verify the claim information
You will reach out to the insured and verify the details of the loss:
- Insurance carrier
- Claim number
- Adjuster information
- Any instructions given by the carrier, if cause of loss has been determined, when is the adjuster coming out, if there has been any coverage granted.
- If this is a Liberty Mutual / Safeco claim you will need to reach out to the water mitigation team prior to work being started. 855-212-3227
4. Gather loss information
This is where you will gather information about the loss on what your crews will need to preform the job:
- What caused the loss?
- How long has the loss been going on?
- Has the source of the loss been fixed?
- How long have you noticed any smells or discoloration?
- Has the adjuster been out?
- Have you had any recent losses in this area?
- How many rooms are affected?
- Has an industrial hygienist been out to the home?
5. Has the Cause of Loss been fixed?
This is the key question!!
If the source of loss has not been fixed, mitigation can NOT start. This will need to be explained to the home owner.
*Exception if the adjuster gives you permission to start the mitigation or if the plumber is on site or on their way.
6. Clock into project before leaving the shop
This will allow the office to keep track of travel time on the project.
7. Pack the mitigation vehicle
Typical equipment and supplies that should be stocked on the mitigation response vehicle.
Note: this is a generic list and should be updated and posted in the shop.
Administration and Safety Equipment:
- First aid kit
- Fire extinguisher
- Roadside emergency kit
- Jumper cables
- Safety Data Sheets (SDS) book
- Haz-Com binder
- Job folders
- Extra forms
- GPS
- Hazard signs
- Wet floor sign
- Calculator
- Digital camera
- iPad or other technology
- Gas card
- Permanent marker
- Zip lock bags for samples
- Clip boards
- On Call list
Extraction Wands and Hoses:
- Sewer wand
- Clean water wand
- High pressure hose
- Extraction hoses
- Water supply hose
Production Equipment
- Water key
- 2 rolls 6 mil trash bags
- Carpet grooming rake
- Foam blocks
- Clear furniture tabs
- 4 Extension cords
- 10 Electrical adaptors
- 220 Electric panel (220 dryer)
- Empty 5 gallon bucket
- 1 Roll 6 mil fire retardant poly sheeting for containment or roof covering
- 1 Bundle furring strips for roof covering or other
- 3 – 1.5 boxes
- Moving blankets
- 1 Roll lay-flat – 18”
- 1 Roll lay-flat – 9”
- 1 Roll carpet mask
- 1 Roll floor mask
- 2” Blue tape
- 3” Yellow tape
- 6” White vinyl tape
- Floor scraper with blades
- 6’ Ladder
- Portable lighting
- 4 Moving disks
- Air sled
Restoration and cleaning solutions
- 10 Clean white towels
- 3 Gallons antimicrobial
- 2 Cans spray adhesive
- 2 Empty trigger sprayer
Testing Equipment
- Carpet sensor
- Thermal hygrometer
- Manometers
- Non-penetrating moisture meter
- Penetrating w/ slide hammer
Equipment
- 1000 CFM Air scrubber and collars
- Spare 16x16x2 filter pleated & carbon
- Wall drying set up
- 6 – LGR DH’s
- 3 50-Gallon water collection barrel
- 8 Air movers
- 1 HEPA Vac w/ attachments
- Portable extraction unit
- Portable extraction hose
- Portable high pressure hose
Tools
- Skill saw
- Reciprocating saw
- Oscillating multitool
- Cordless drill
- Tool box with hand tools: hammer, knives, screw drivers, pry bars, drywall knife, hand saw, etc.
- Demolition tools
- Clean up tools: broom, dust pan, flat shovel, round point shovel, rake
8. Confirm that all necessary PPE is stocked on the response vehicle
Typical PPE items that may be required on a mitigation project:
- Half or full face respirator
- Organic cartridges
- Hand sanitizer
- Liquid-repellent coveralls
- Waterproof coveralls
- Waterproof rubber gloves
- Rubber boots
- Safety glasses, goggles or face shield
- Booties
9. Clock into project when arriving at the job site
Clock into job a second time when arriving at the jobsite.
10. Take picture of front of loss site from the street
This is an important step and is required by many insurance companies as a requirement for payment.
11. Meet the property owner and ask for a description of what the situation is
Introduce yourself to the homeowner and ask them to describe the incident that caused the water damage. Listen carefully to the homeowner's description and take note of any important details such as the location and extent of the damage, the time that has passed since the incident occurred, and whether any attempts have been made to mitigate the damage. This information will help you assess the situation and determine the best course of action for the mitigation process.
12. Get appropriate forms signed
Forms:
- Work Authorization
- Carrier specific authorizations
Work cannot begin unless a work authorization signed**
13. Categories of water
Category 1 (Clean Water)
This water is:
- from a clean source
- not a significant risk to health
- not present for a long period of time
- not strong smelling (presence of odor indicates another category and must be investigated further)
Materials affected are clean and well-maintained.
Examples include:
- broken water supply line
- appliance malfunction involving water supply line
- tub or sink overflow with no contaminants
Once identified, Category 1 losses can be mitigated with structural drying; no additional procedures to address contamination are needed. Materials need to be completely dried in a time-sensitive fashion and only need to be replaced if permanently structurally or aesthetically damaged.
Category 2 (Grey Water)
This water has:
- a significant degree of chemical, biological and/or physical contamination
- potential to cause sickness or discomfort
Examples include:
- aquarium or waterbed leaks
- toilet bowl overflows containing urine
- dishwasher or clothing washer leaks
- water entering the structure from below-grade
Cleaning processes need to take place to take care of contamination prior to drying procedures. The water must not be allowed to dwell for a significant time. Carpet underlay needs to be removed and disposed of, and carpet itself must be thoroughly cleaned. Antimicrobials are used to prevent bacterial growth.
Category 3 (Black Water)
This water is:
- from a significantly unsanitary source
- carrying disease-causing agents
Examples include:
- discharge from toilets beyond the toilet trap (ex. sewer or septic system)
- flood waters
Dealing with a Category 3 loss is much more complicated. Proper PPE must be used for your safety. Worker and occupant health and safety are the first priority on these (and any) projects. Evacuate individuals with compromised immune systems until mitigation has been performed. All highly porous materials must be removed and various decontamination methods employed prior to drying the structure, and any surfaces that are to be restored must be cleaned.
Be familiar with the labeling on any biocides used as well as the local laws that govern its use.
Special Situations
- Consult a third party expert when dealing with a loss that involves contamination from a regulated or hazardous material. These do not change the category of the loss.
- If mold is growing in a Category 2 loss, the loss is still Category 2, but mold remediation techniques must be employed during mitigation.
14. Identify Class of the loss
Class 1
This class has the least amount of water absorption - less than 5% of area surfaces (floors, walls, and ceilings) are wet porous materials. Water evaporates slowly when less is present, so Class 1 has the slowest rate of evaporation.
This may involve materials that don't absorb a lot of water (ex. concrete) that is only lightly affected.
Examples:
- concrete basement floor that absorbed a small amount of water
- materials that are not very porous (plywood, structural lumber, concrete) that absorbed very little moisture
- wet carpet or padding has already been removed
Class 2
Evaporation will progress more quickly than Class 1. Porous materials are affected at more than 5% (but low-evaporation materials have only absorbed minimal moisture), and up to 40% of area surfaces are affected.
Examples:
- wet carpet, cushion, and water wicking up gypsum wallboard
- structure affected by Category 2 in which underlay was removed but other wet structural materials remain
- carpet and underlay are being dried in-place but no wicking up walls has occurred
Class 3
More water is present than with any other class, and so evaporation will progress fastest. More than 40% of area surfaces are wet porous materials.
Examples:
- water supply failure on second floor has saturated entire areas below with large amounts of water
- overhead water supply pipes malfunction
- carpet and underlay, walls, structure, and insulation are wet
Class 4
These are specialty drying situations. Wet materials may require a longer time to dry - water has saturated deeply and is held or trapped. Evaporation occurs slowly. Materials such as hardwood, plaster, brick, and others have significant absorption and need to be dried with desiccant and/or special methods of dehumidification with larger vapor pressure differentials.
Examples:
- plaster and lath walls are deeply saturated
- the affected structure has hardwood floors or very old construction with multiple layers
- loss in a gymnasium or on concrete or dirt floors
15. Photo document the loss site
Photo document the loss site, you will be telling a story to someone who has not been on site. Take photos from the ceiling down documenting the rooms.
Photos needed
- Front of the risk
- Cause of loss
- areas affected
- overviews of the area
- contents that are affected
- items of value or concern
- take photos of pre-existing damage
- You can not take too many photos!
After the site has been documented with a digital camera set up and do 3D Imaging of the loss site.
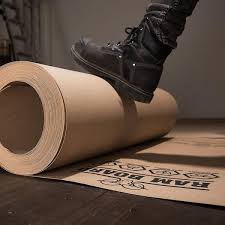
16. Install floor protection
When Applying floor protection as a runner
- Start from the area you are working in
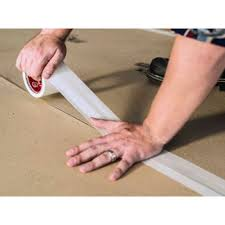
- Use a small section(starter piece) and tape down using masking tape
- Roll out the floor protection to the end of the area being protected(Keep attached to the roll)
- Start by securing the beginning edge to the starter piece
- Continue along taping until you reach the end of the area being covered
- Cut the end and secure it down with tape
17. Remove all contents from affected area
Remove all contents from affected area.
Remove contents out of the affected rooms that will obstruct air flow.
For Cat III Losses
- Porous contents (stuffed animals, clothing, upholstered furniture, papers, etc.) should be disposed of.
- Hard contents need to be wiped down with an appropriate sanitizer and dried.
- Toys should be disposed of.
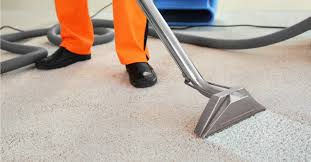
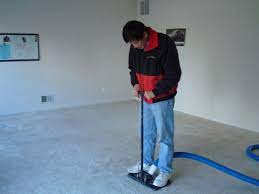
18. Extract standing water
Heavy vs Standard Extraction:
- The number 1 step in drying as quick as possible, is through extraction.
When the area is saturated, using heavy extraction methods will remove much more water, especially from the pad.
- If pad is being discarded, Heavy Extraction makes the Pad much lighter to carry
If the area is not heavily saturated, the standard Extraction is enough to remove as much water as needed to dry effectively
19. Stop and ask whether the damaged material needs to be tested for lead or asbestos
Before beginning the removal process confirm whether the building materials need to be tested for lead or asbestos. See OSHA and EPA guidelines for when to test.
Asbestos: https://www.epa.gov/asbestos/asbestos-laws-and-regulations
Lead: https://www.epa.gov/lead/complying-lead-laws-and-regulations
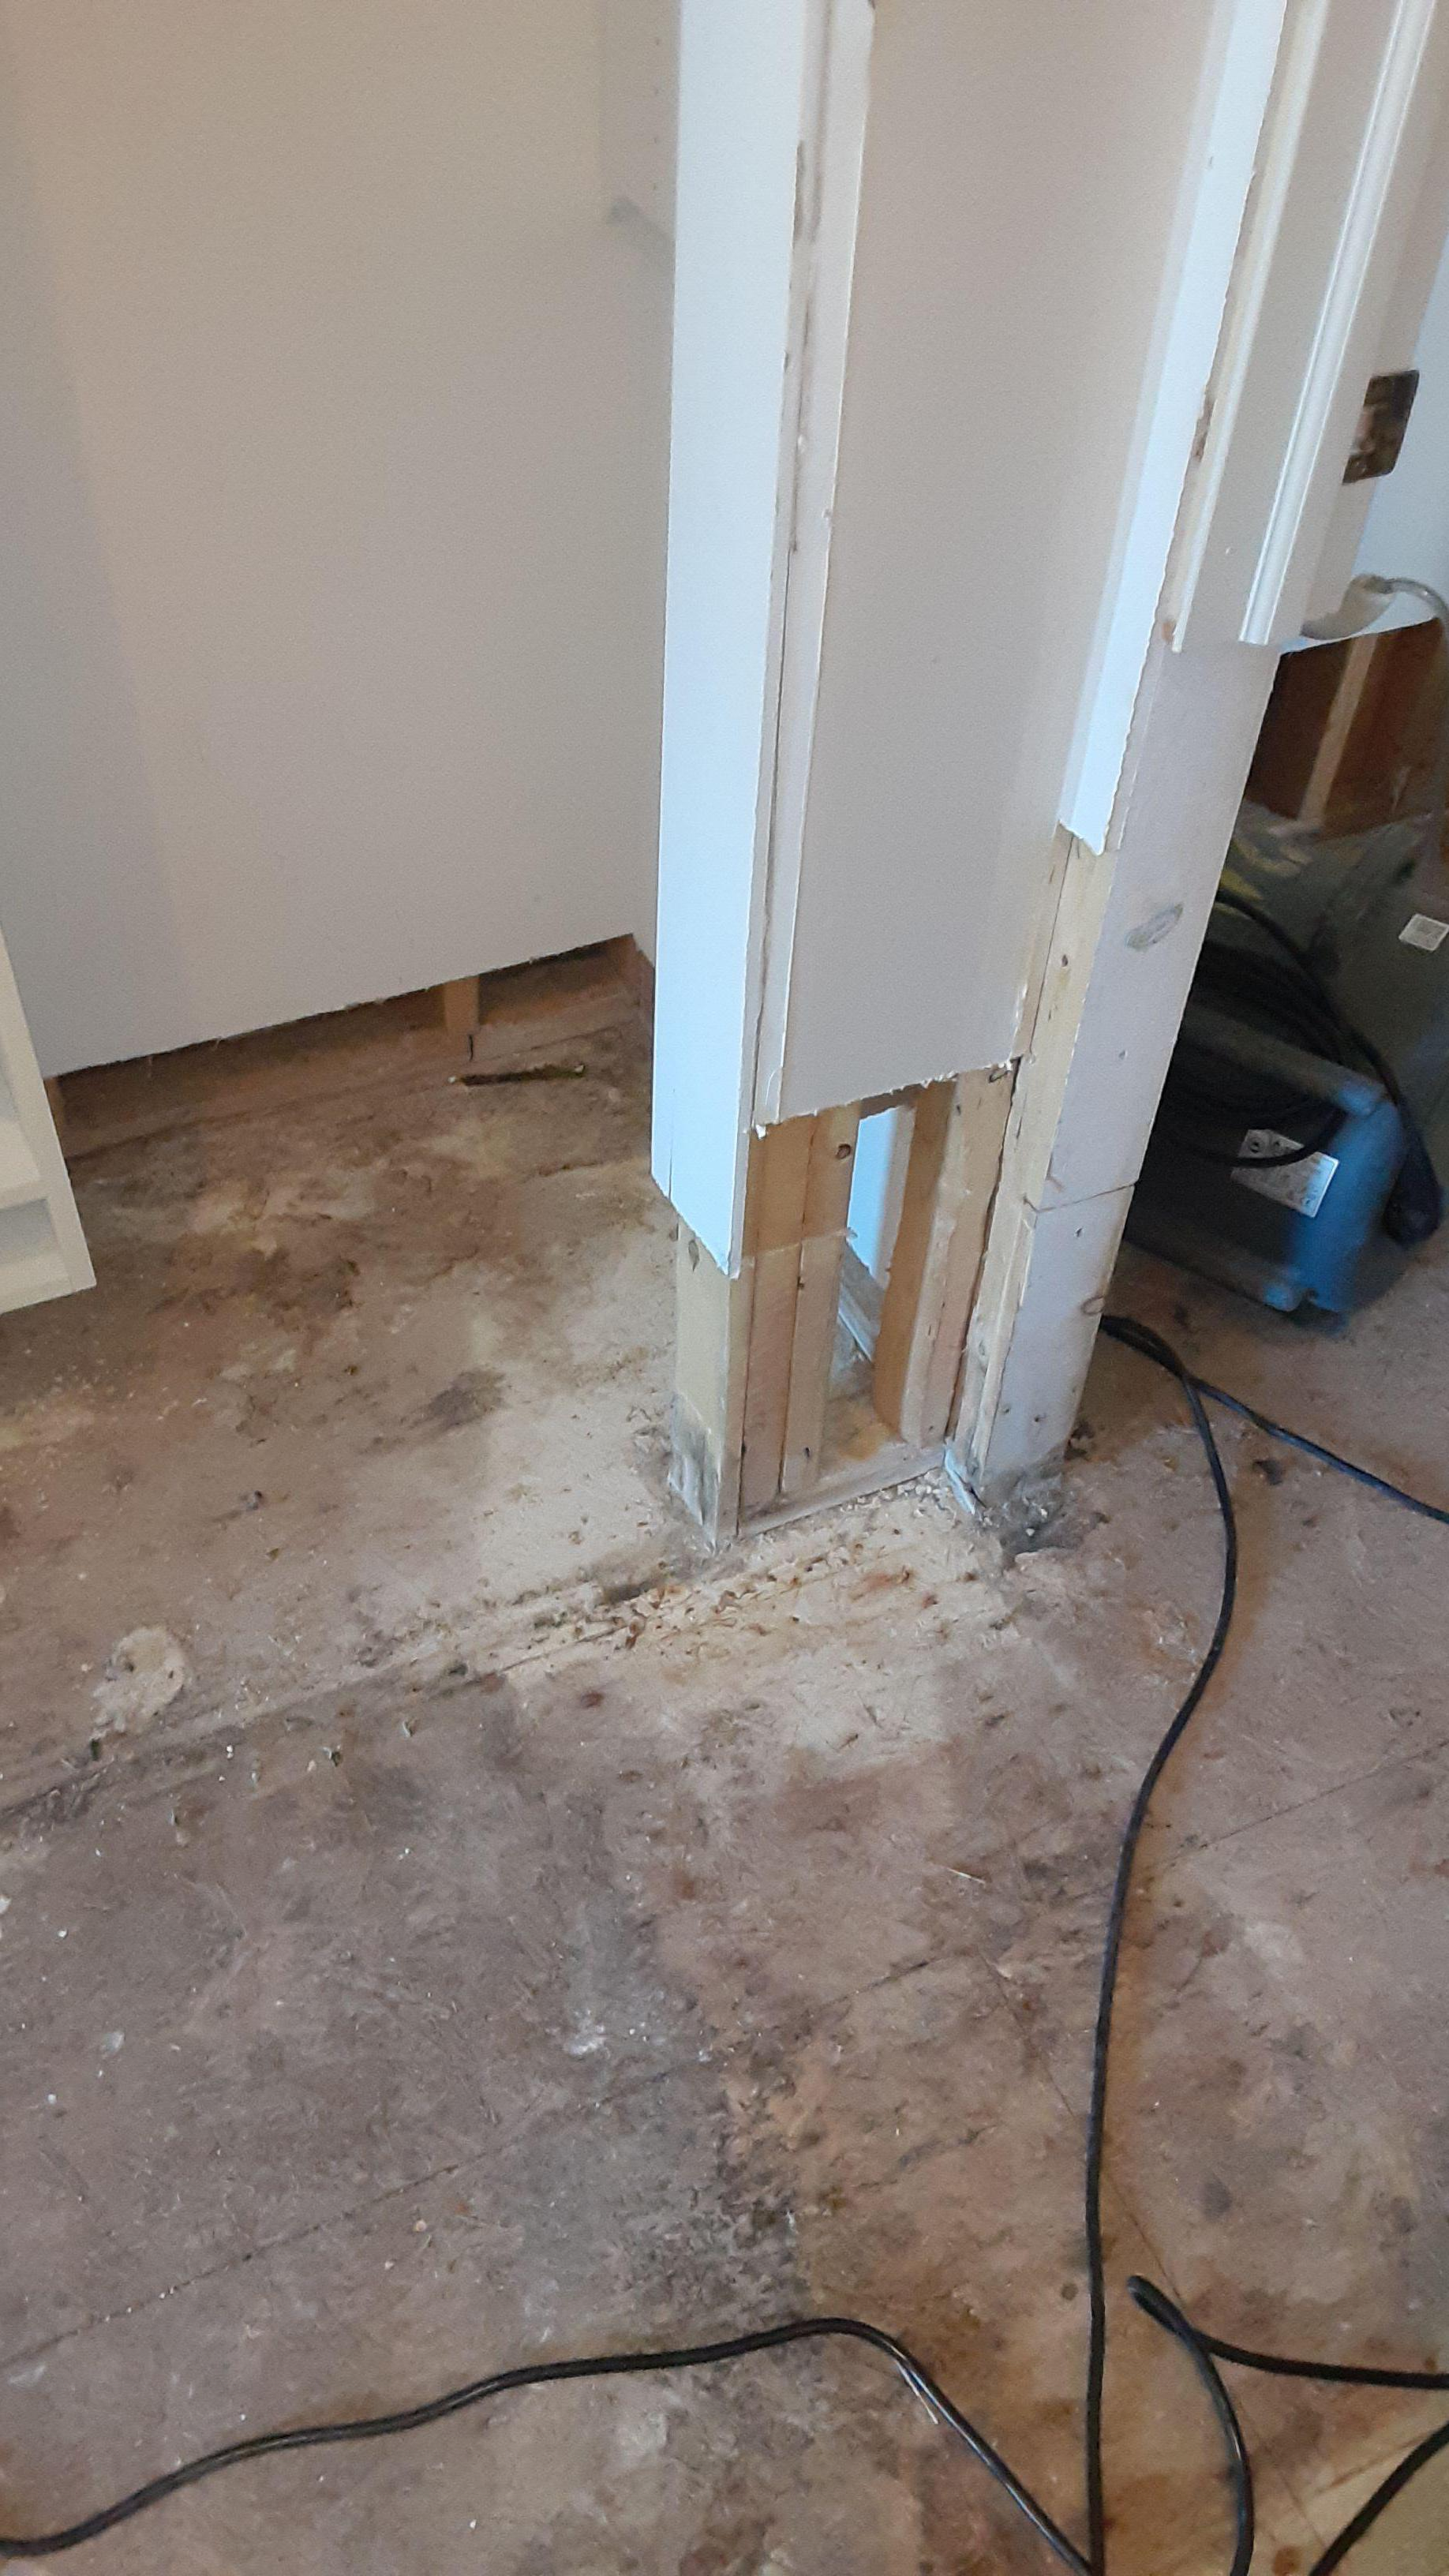
20. Remove all porous building materials if needed
Depending on the category of loss additional demo will be required.
On a Cat III water loss
Remove all porous building materials that were in contact with Category III water and double bag in 30 mil garbage bags. This should be completed in the area where the work is being completed. If the garbage bag has lost its integrity place in second garbage bag before taking outside. This includes but is not limited to the following:
- Floor coverings
- Underlayment
- Drywall and or plaster
- Base trim and casing
- Insulation
- Cabinetry
21. Collect samples of building materials
Collect samples of any building materials that are being removed. Note: Choose a section that has not been contaminated if possible.
- Cut small piece of materials 12 X 12 inches.
- Place in large ziploc bag.
- Write the job name and job number on the bag.
Following are some of the items that should have samples brought back to the office:
- Carpet
- Vinyl
- Hardwood
- Carpet Cushion
- Drywall
- Baseboard
- Casing
- Other as needed
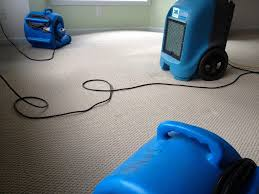
22. Set up drying equipment
Once the area is thoroughly extracted and all pad that was removed is out of the home, it is time to place the drying equipment needed
23. Take initial moisture readings
Where possible, penetrating meters (meters that use pins or probes to "poke into" the material) are always the most reliable. However, these will create holes in the material. If the material could otherwise be saved, be sure to use a non-penetrating meter to prevent unnecessary damages.
Materials to use a penetrating meter on:
- Wood framing
- Carpet and pad
- Wood subfloor
- Batt insulation (in Category 1 water damage situations, where drying the insulation is feasible.)
- Hardwood flooring, when heavy saturation is present. (Note: A hammer probe will be needed in order to get far enough into the wood to get an accurate reading. Always chose a spot where you can hide the pin holes in the dark grain of the wood. Be sure to communicate this to the adjuster or insurance carrier, as this will require a wood floor refinishing in order to repair. )
Materials to use a non-penetrating meter on:
- Drywall
- Plaster
- Vinyl
- Ceramic tile
- Concrete
- Cabinetry
- Hardwood flooring with minimal saturation
Note: Some situations require additional considerations. For example, water trapped behind cabinetry may require the use of long probes or even large metal screws. Always consult with an ASD certified drying technician before attempting to monitor complex drying situations.
24. Diagram the building
With a digital tape measure take the measurements of the area.
SQ foot of the rooms, height of the ceiling, size of the doors/windows. Document and measure the material that is removed for the scope sheets.
25. Complete final quality check walk through of project before departing
Before departing the project for the day do a final walk through:
- Is all debris removed and the site broom clean?
- Is all of the equipment running correctly?
- Are there any safety concerns?
- Tackless exposed
- Extension cords or other trip/fall hazards
- Nails exposed in floors or walls where they can be hit
- Gas appliance pilot lights
26. Input notes and upload documents into file management software before departing site
Fill out scope sheet of work completed and add notes into CRM.
- SF of floor protection used
- SF of water extracted
- SF of antimicrobial spray used
- LF of baseboards removed
- SF of flooring removed (laminate, wood, tile, carpet, etc.)
- SF of underlayment removed (plastic, carpet pad, etc.)
- Sf of drywall removed
- # of holes drilled in the drywall or toe kick
- LF of toe kick removed
Equipment used and for how many days:
- # of air movers and number of days
- #of dehumidifiers and how many day used (also size of the dehumidifier)
- Air scrubbers and how many days used
- # of air filters used
- Specialty drying equipment and number of days used (injectadry, wood floor drying mats, etc.)
- # of boxes for contents
- SF of plastic used
- # of containment polls
- # of containment zippers
- spider box
- extension cords
- # of rolls of tape used
- # of respirators and type of respirators
- # of respirator filters used
- # of rubber gloves used
- # of Tyvek suits used
- # of trash bags used
- add any other types of PPE that were used on the job
Contents manipulation
You will want to include the amount of labor hours used in each roof for content manipulation. How much time did you use to move items such as couches, chairs, tables, cleaning out under a sink, cleaning out under a pantry, etc.
27. Clean and decontaminate equipment
Clean and disinfect any items used on the job.
Discard any damaged material brought back from the job unless instructed otherwise.
28. Restock vehicle
Restock the mitigation vehicle for the next assignment, reference step 7 for vehicle stock list.
29. Clock out of project
Clock out of the project.
30. Let the insured know you are done for the day
Let the insured know you are done for the day. Give them a plan for the next couple of days.
- Monitoring the home to check on the moisture levels
- Find out the home owners schedule and find a time to monitor


